HOMMAGE À MICHAEL ORTON
Il y a de nombreuses façons de simuler un effet Orton.
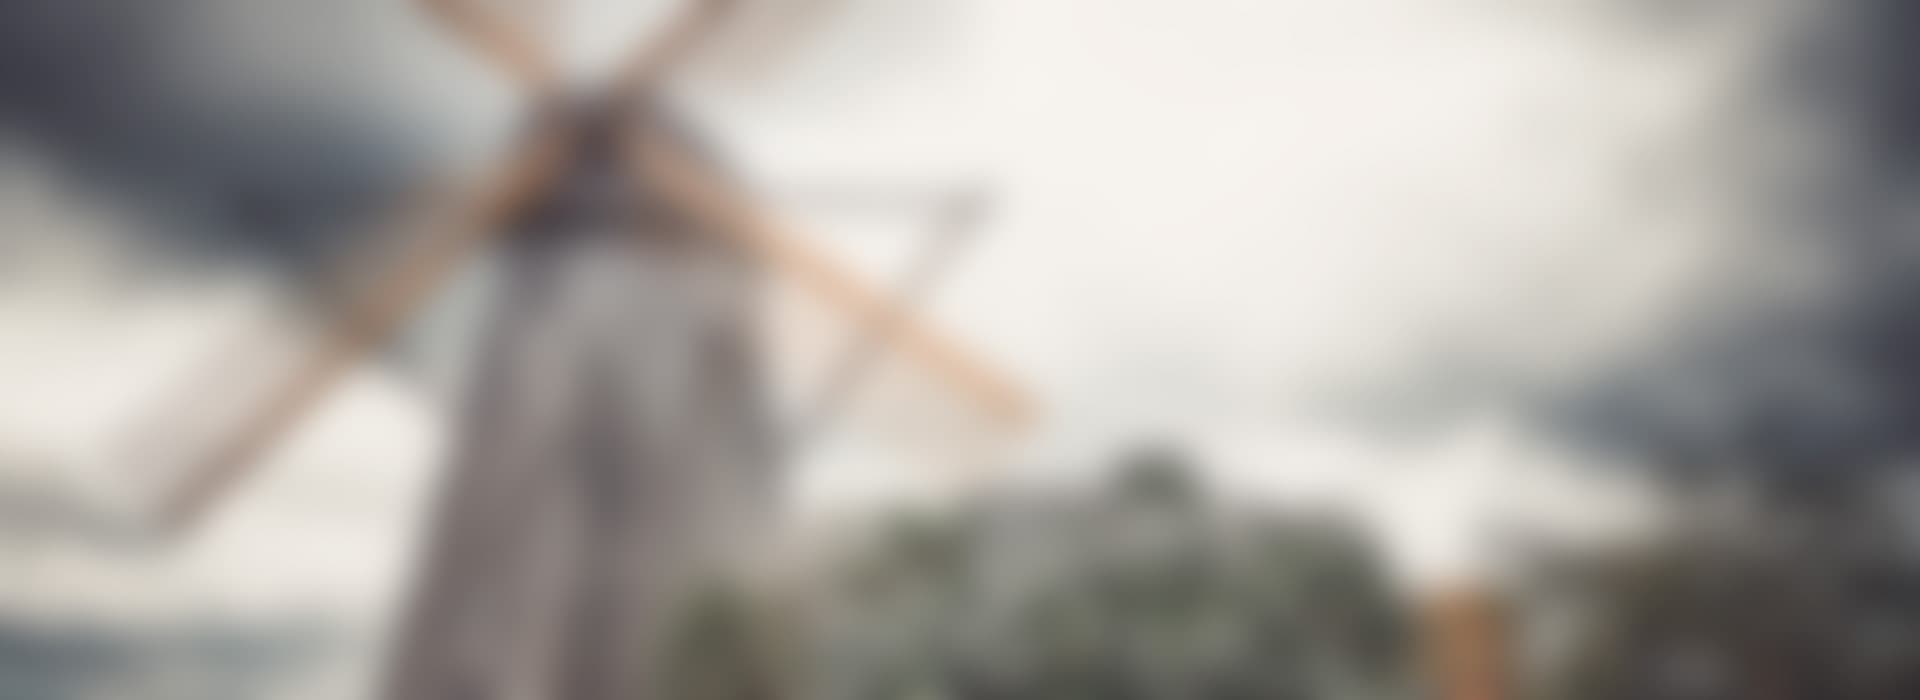
Tout d’abord, sachez que le mot Orton vient du nom de son inventeur le canadien Michael O.. Un effet qui n’est d’ailleurs pas sans rappeler celui du photographe David Hamilton dans les années 70… J’aime bien l’utiliser en automne car l’été indien convient à merveille pour ce traitement ! Une post-production particulièrement facile à réaliser et très sympa car elle ajoute un vrai plus à nos photos. Et parce que vous pouvez toujours allez plus loin, n’hésitez pas à jouer avec les différents calques et réglages pour vous approprier la technique.
La technique originale inventée par Michael Orton était de superposer au moins deux images parfois plus, mais d’une scène identique avec des expositions différentes sur le film de glissière. Ça rappel le HDR… Une première image est très dense tandis que les autres sont plus molles et superposées. Pour en savoir plus sur l’effet Orton, je vous recommande également une visite sur Photography.ca.

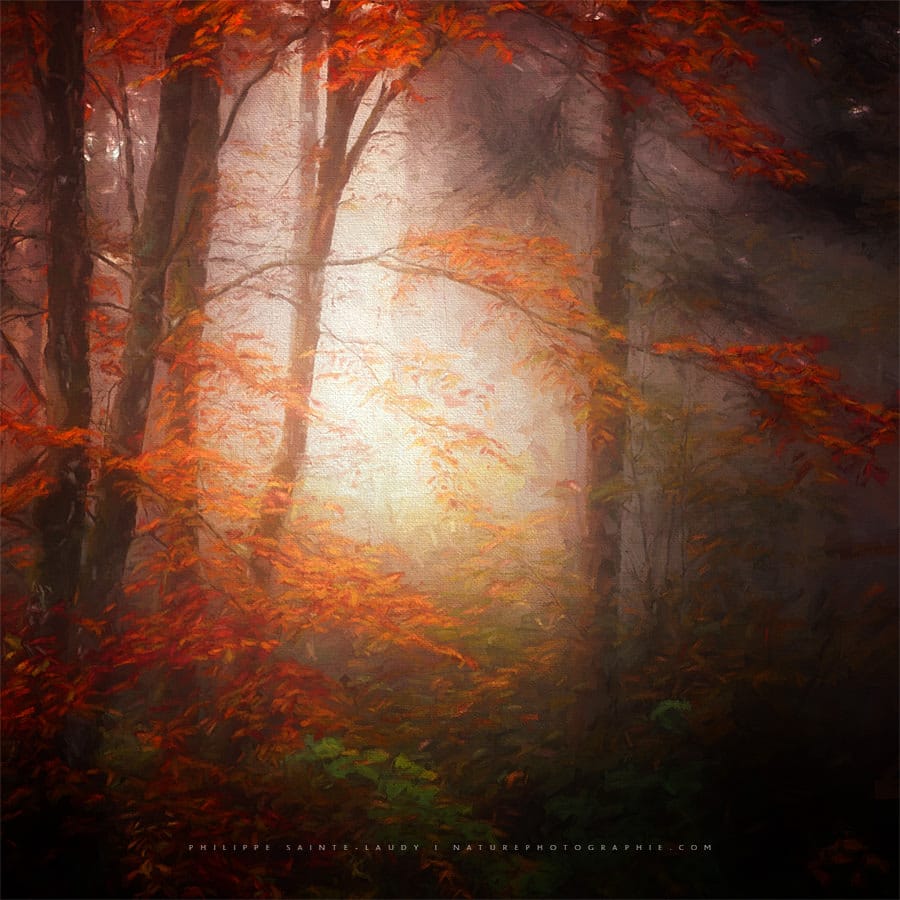
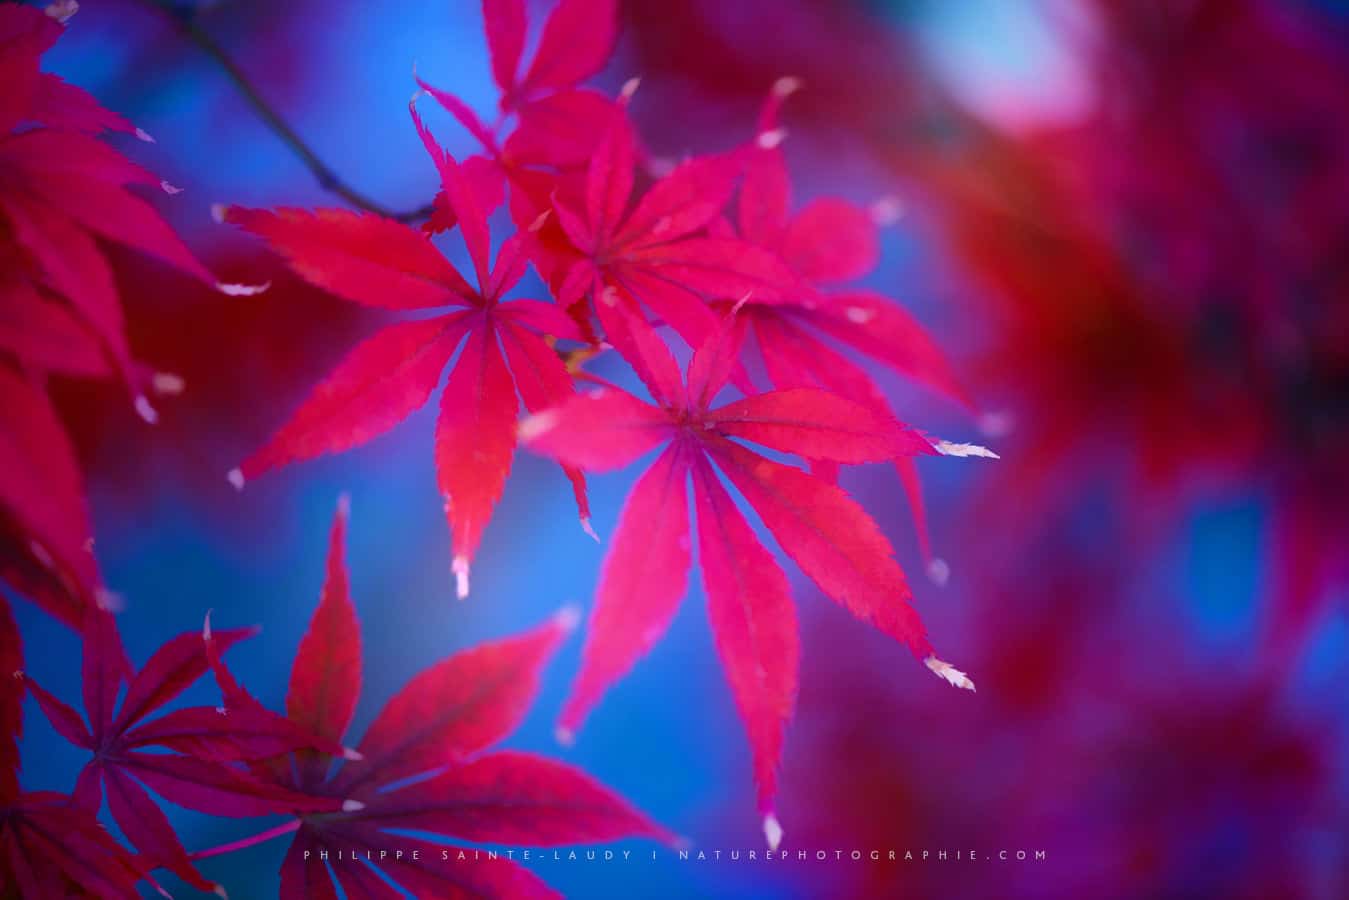
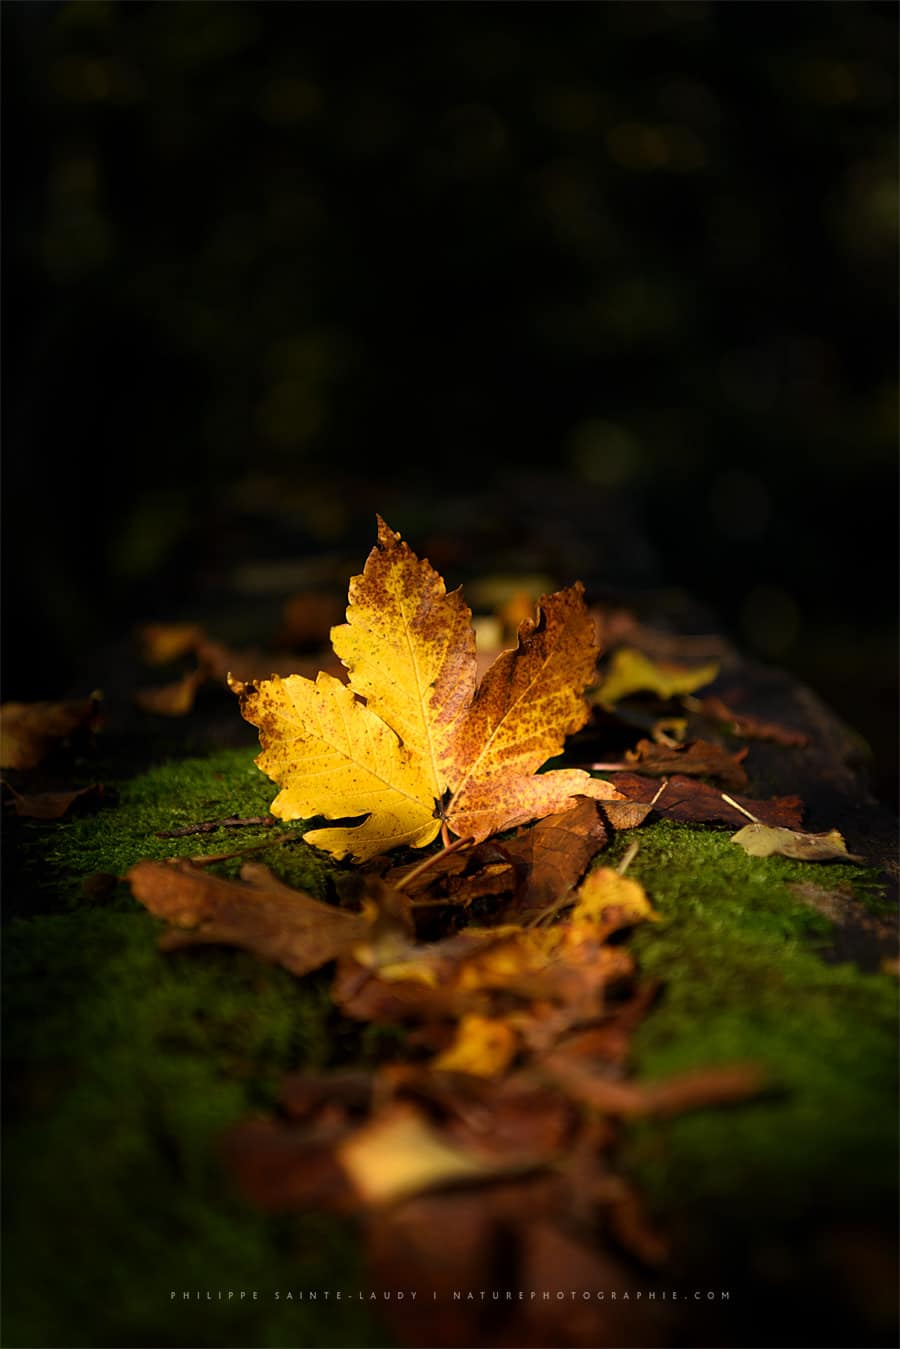
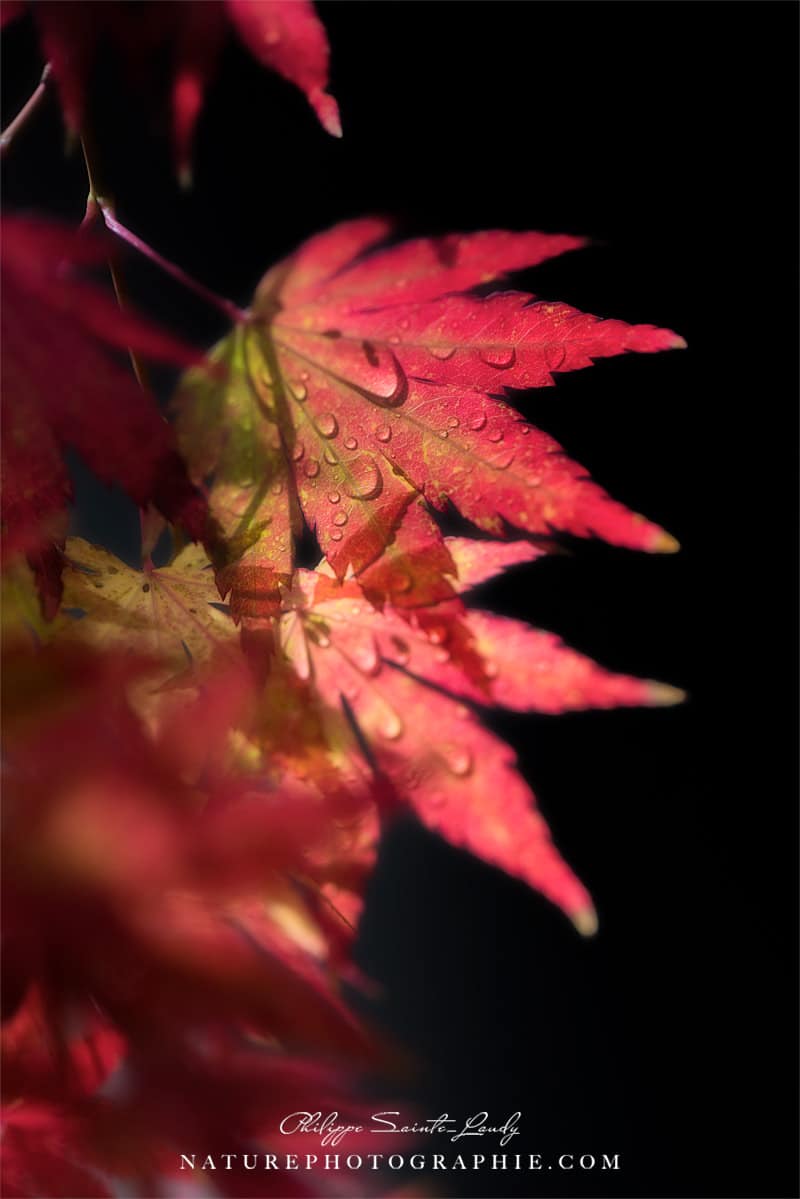
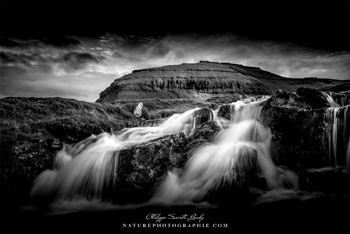
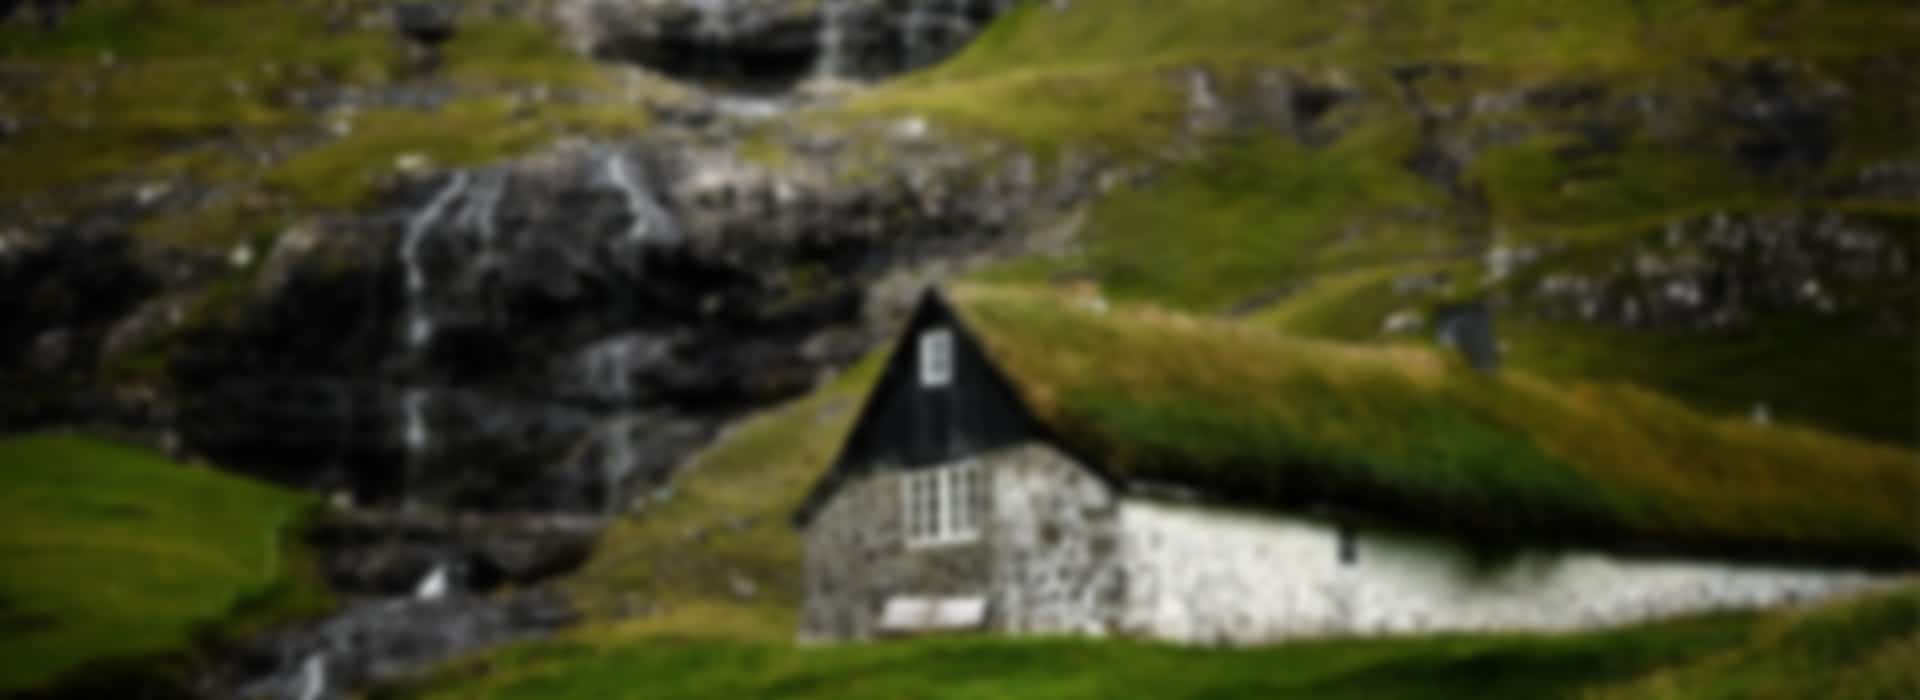
Ici une photo prise au Parc de l’Orangerie à Strasbourg qui donne un résultat honnête . (Avant/Après)
MICHAEL ORTON SUR YOUTUBE
![]()
+ 11 vidéos indispensables de Michael Orton.
Voici maintenant étape par étape, la recette pour faire des images Orton dans Photoshop
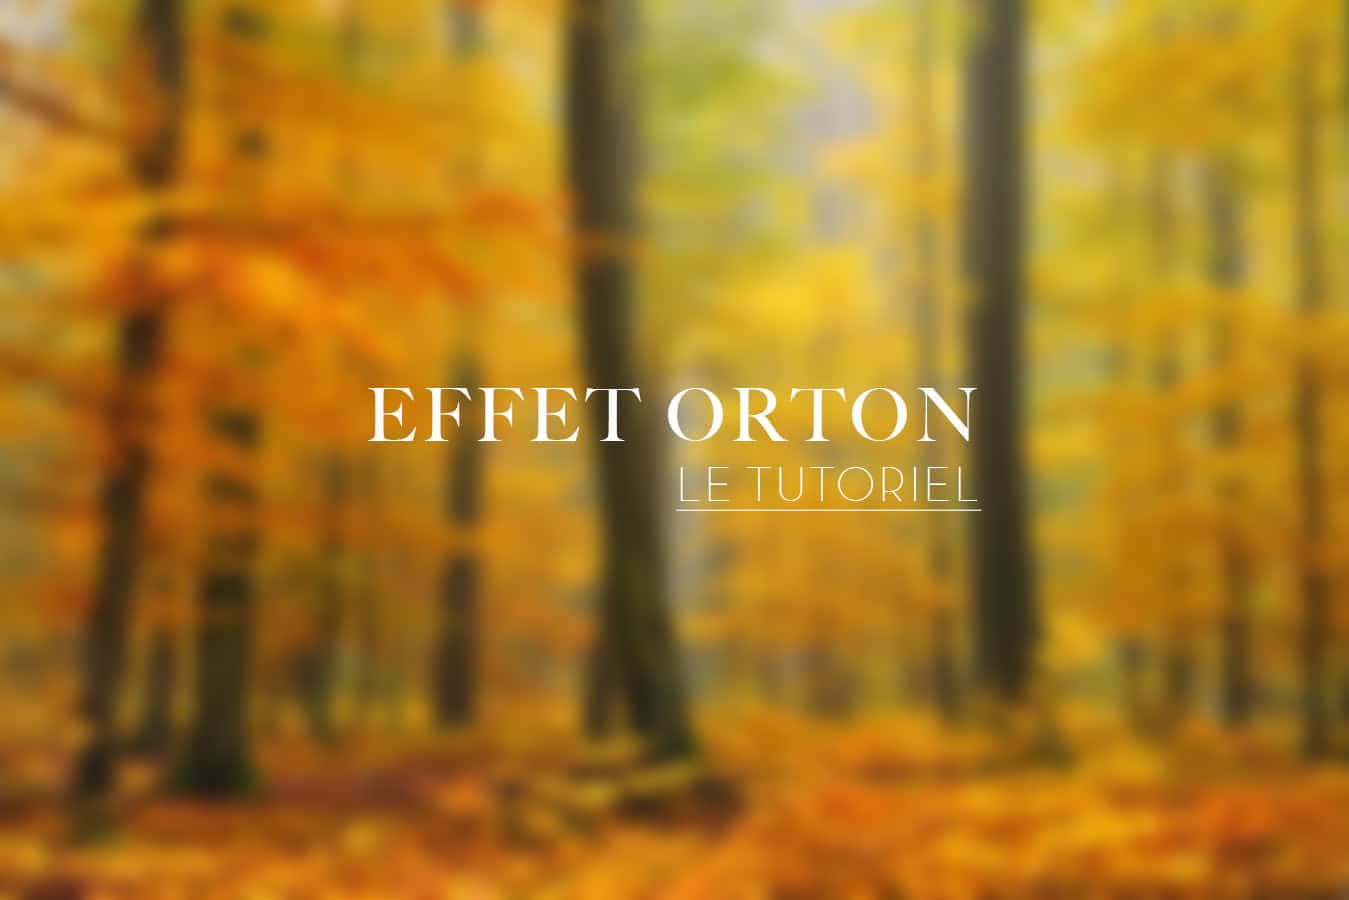
Effet Orton - le tutoriel
Le tutoriel
- Tout d’abord, ouvrez n’importe quelle image pour essayer la technique suivante. Puis, dupliquez la photo (Image> Dupliquer) enregistrer sous…. Enfin, fermez l’image originale.
- Il s’agit maintenant de surexposer cette deuxième image, nous allons donc ouvrir les niveaux (Image>Réglages>Niveaux) et déplacer le curseur central de 1,00 aux alentours de 1,70 (à affiner suivant la densité des images)
- Puis, allez dans les filtres, choisissez Filtres>Atténuation>Flou gaussien et appliquez un rayon entre 20 et 40 pixels. Ensuite, enregistrez cette image et ouvrez maintenant l’originale. Vos 2 documents sont ouverts…
- Enfin, copiez l’image « floue » et collez la sur l’originale. Dans la palette calque, changez l’opacité de Normal à Produit (Lumière Tamisée est intéressant aussi suivant la photo…) Aplatissez maintenant l’image (Calque>Aplatir l’image).
- Vous pouvez continuer à améliorer cette image en réglant à nouveau les courbes RVB, la saturation et le contraste.
- Le truc en plus! Si vous n’êtes pas à l’aise avec l’utilisation des calques, on va faire simple. Certaines parties de l’image peuvent être un peu trop sombre, car trop dense. Tandis que vous gardez les 2 calques ouverts (Orton au dessus et sélectionné), avec l’outil gomme à +/- 50% d’opacité, effacer l’effet dans les endroits bouchés pour rattraper un peu de matière et de luminosité. Probablement le moyen le plus simple pour optimiser le résultat.
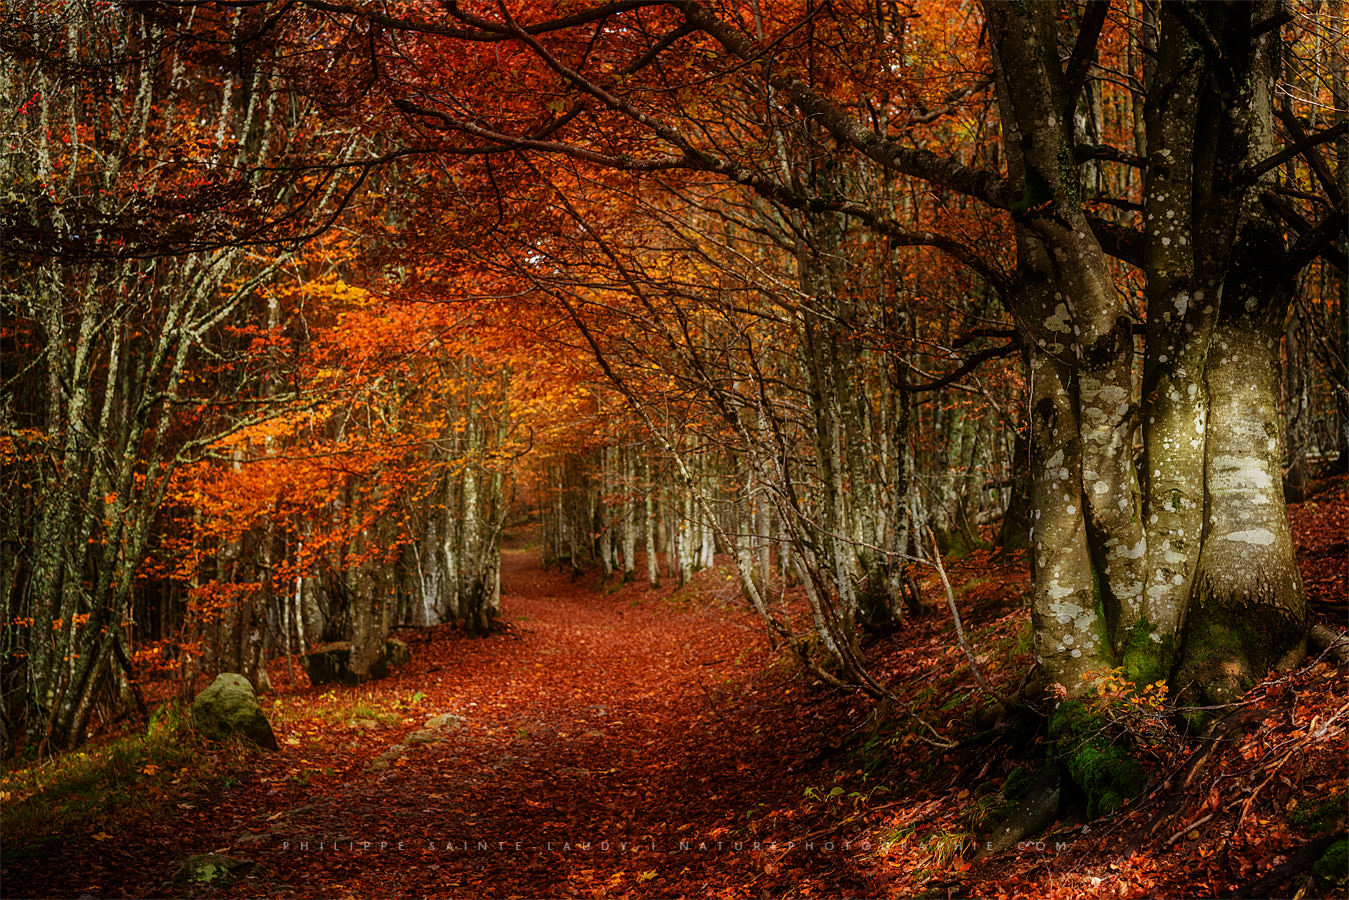
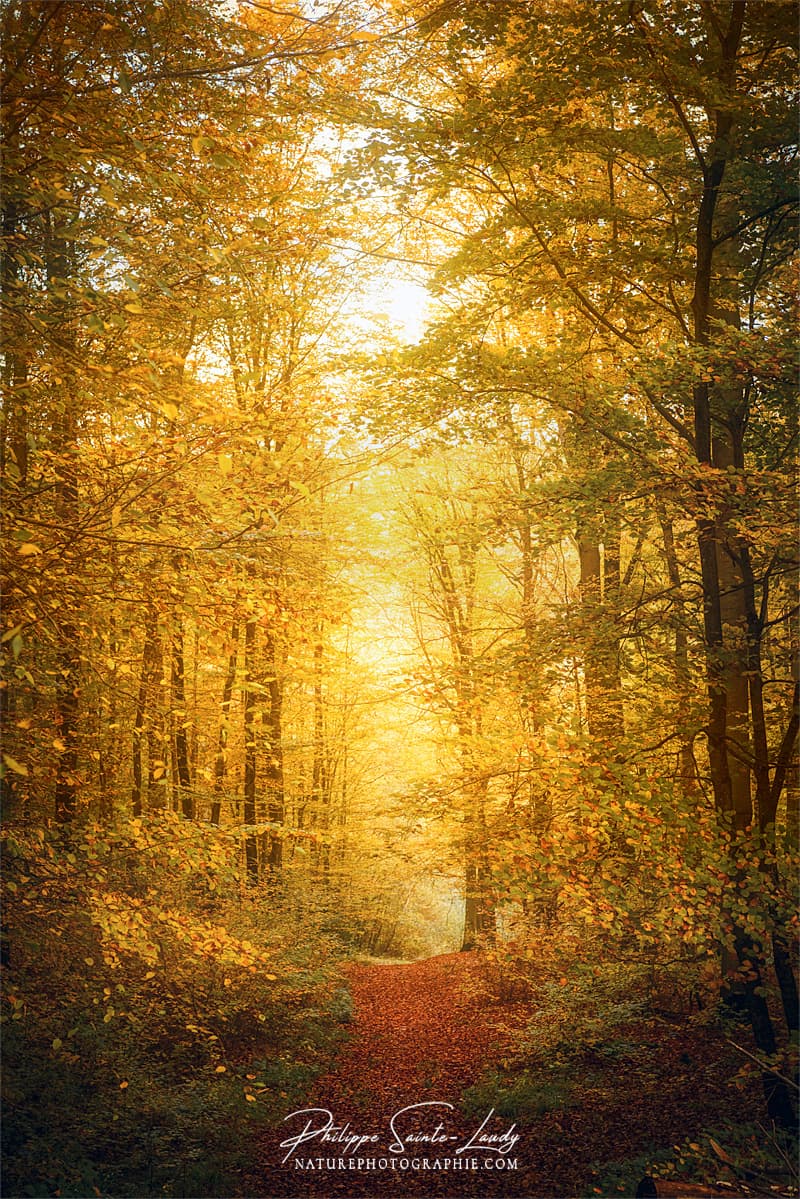
Sous-bois en automne
Vous venez de faire votre première image Orton.
En conclusion, si vous aimez votre nouveau chef-d’œuvre il ne vous reste plus qu’à enregistrer le fichier. Un effet à essayer aussi pour du portrait ou de la nature morte. Avec un bel éclairage et des réglages sans doute un peu plus doux, le résultat sera très sympa aussi.
Il existe aussi un livre sur Amazon: Photographing Creative Landscapes.
Continuez SVP à m’envoyer vos liens et infos sur le sujet, je suis preneur!
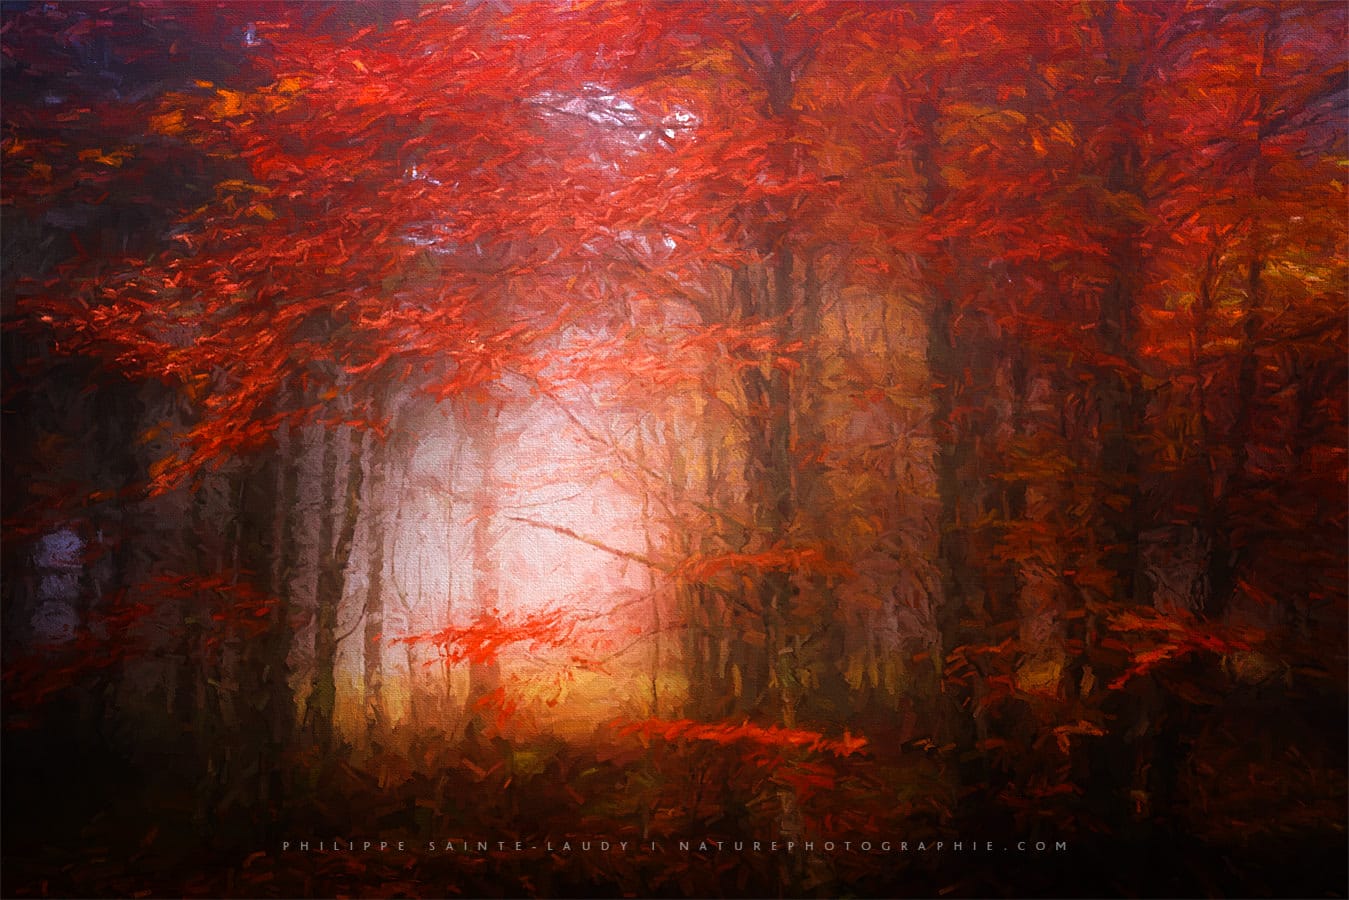
Traitements croisés : Orton et paintography
-

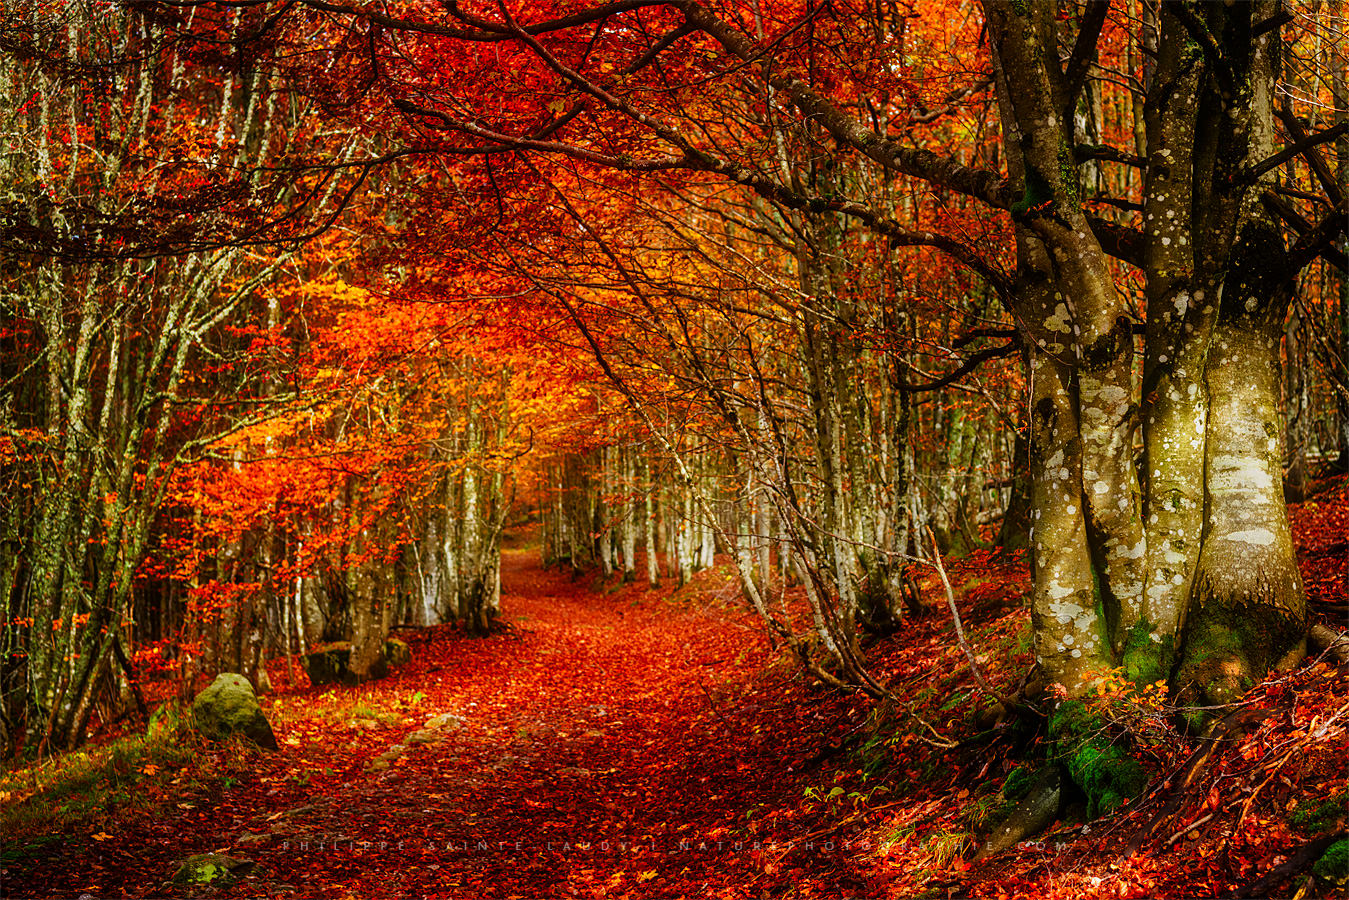
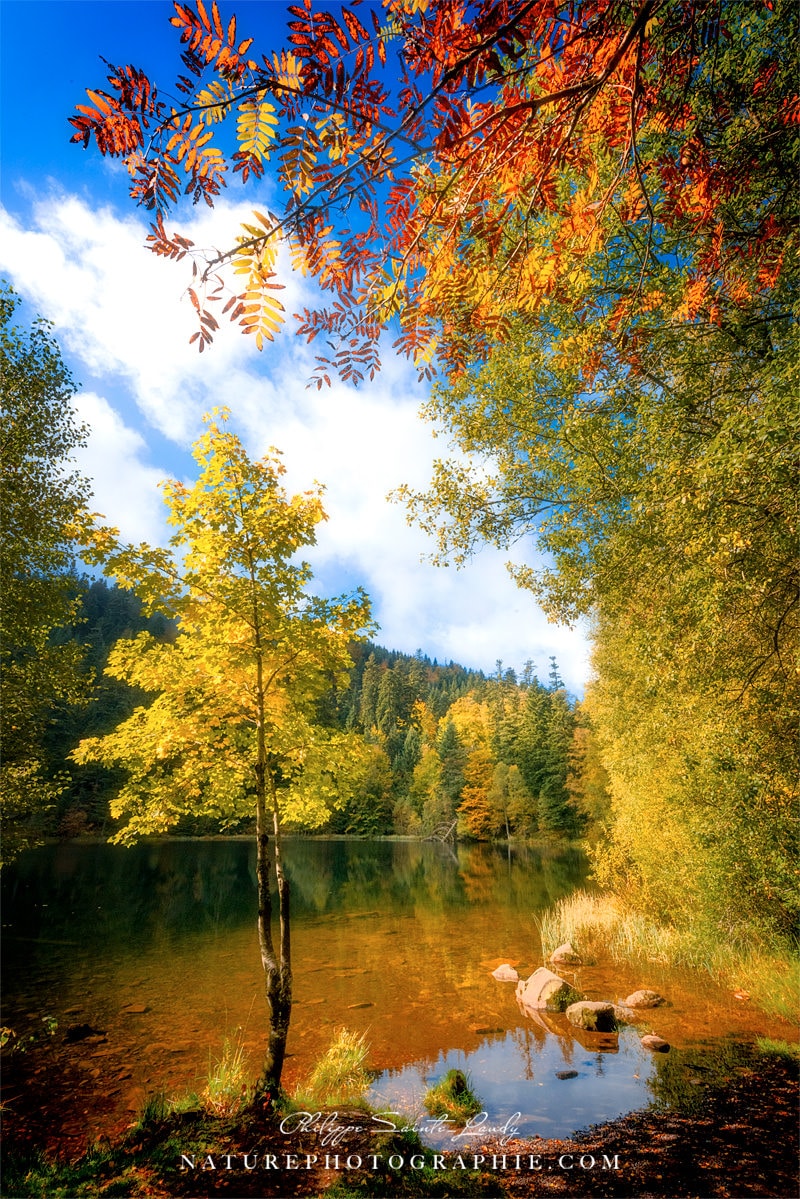
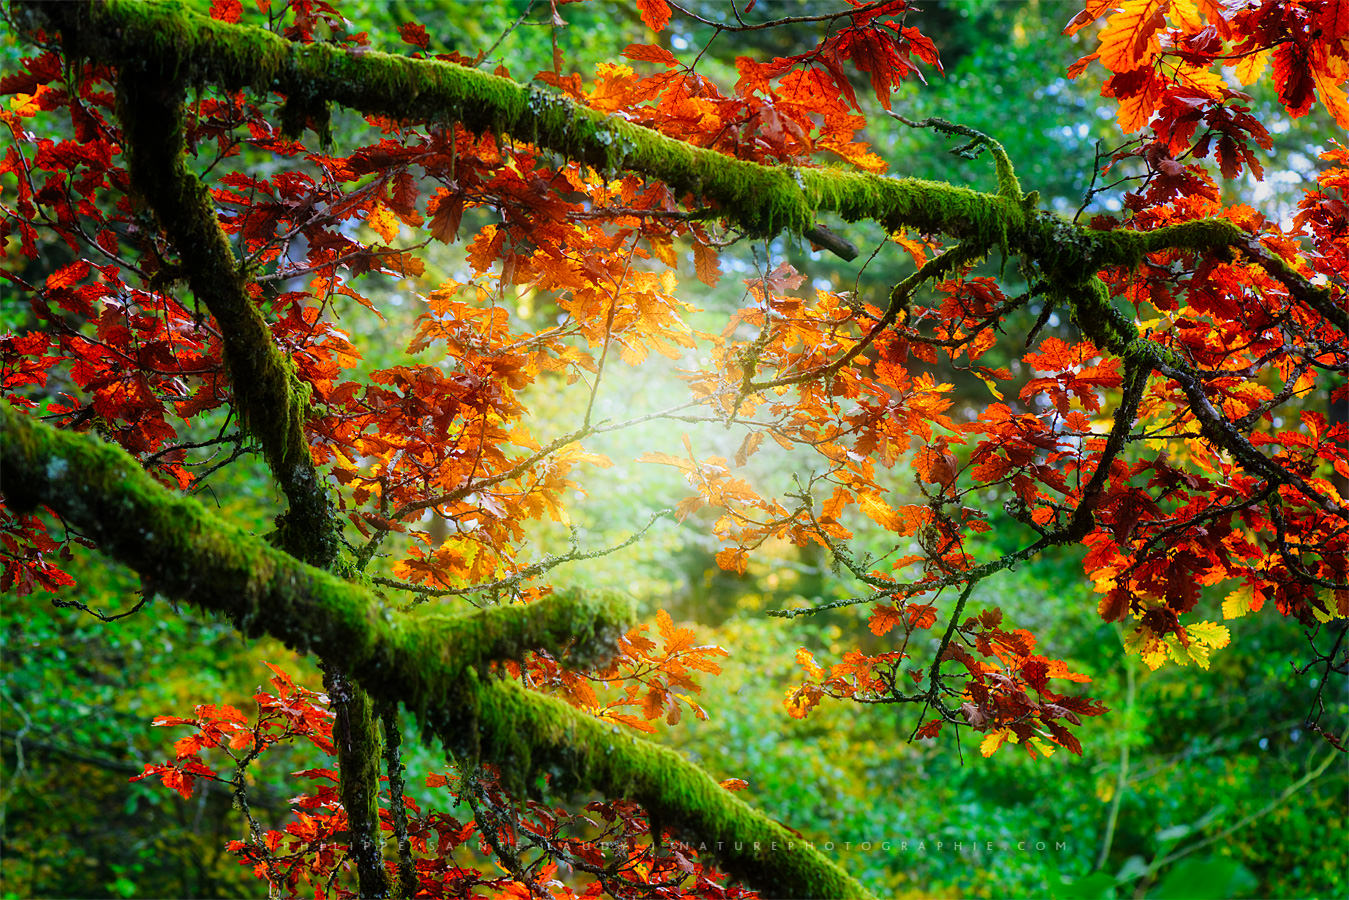
- Une forêt en automne inondée de lumière
-

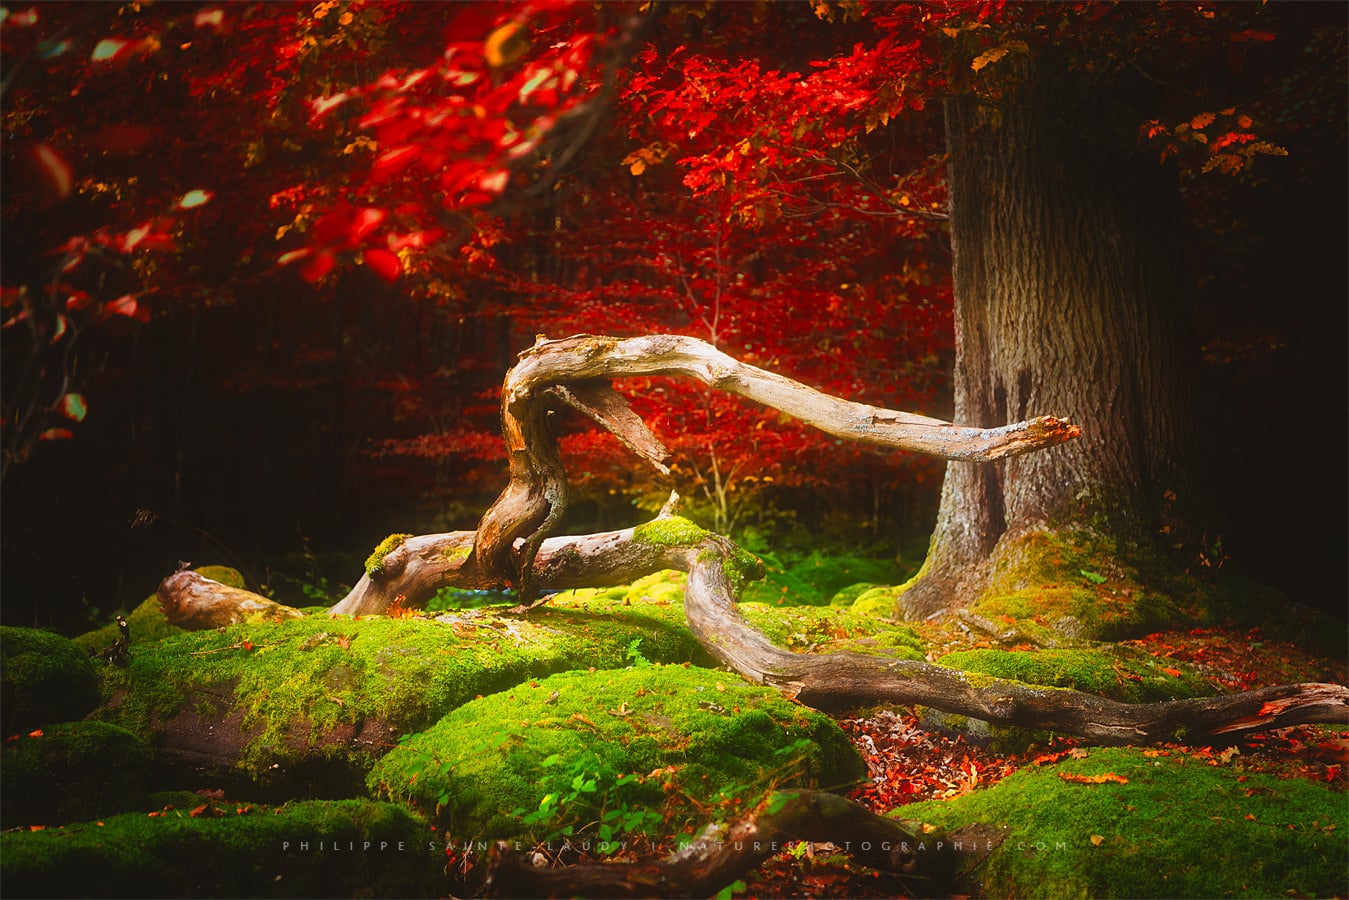
- Paysage d’automne en paintograpy

-
- Forêt rouge en paintography
-
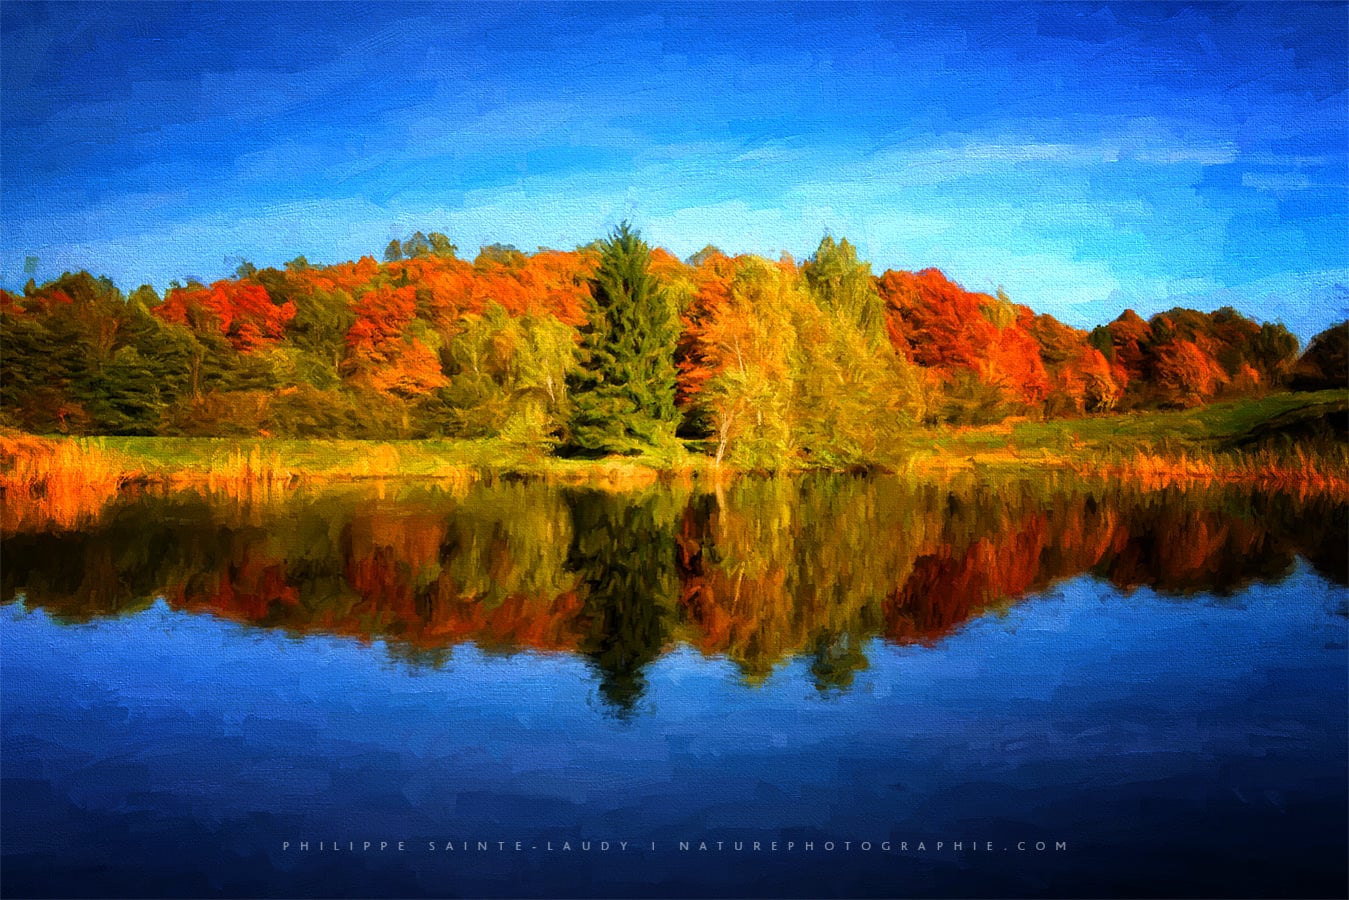
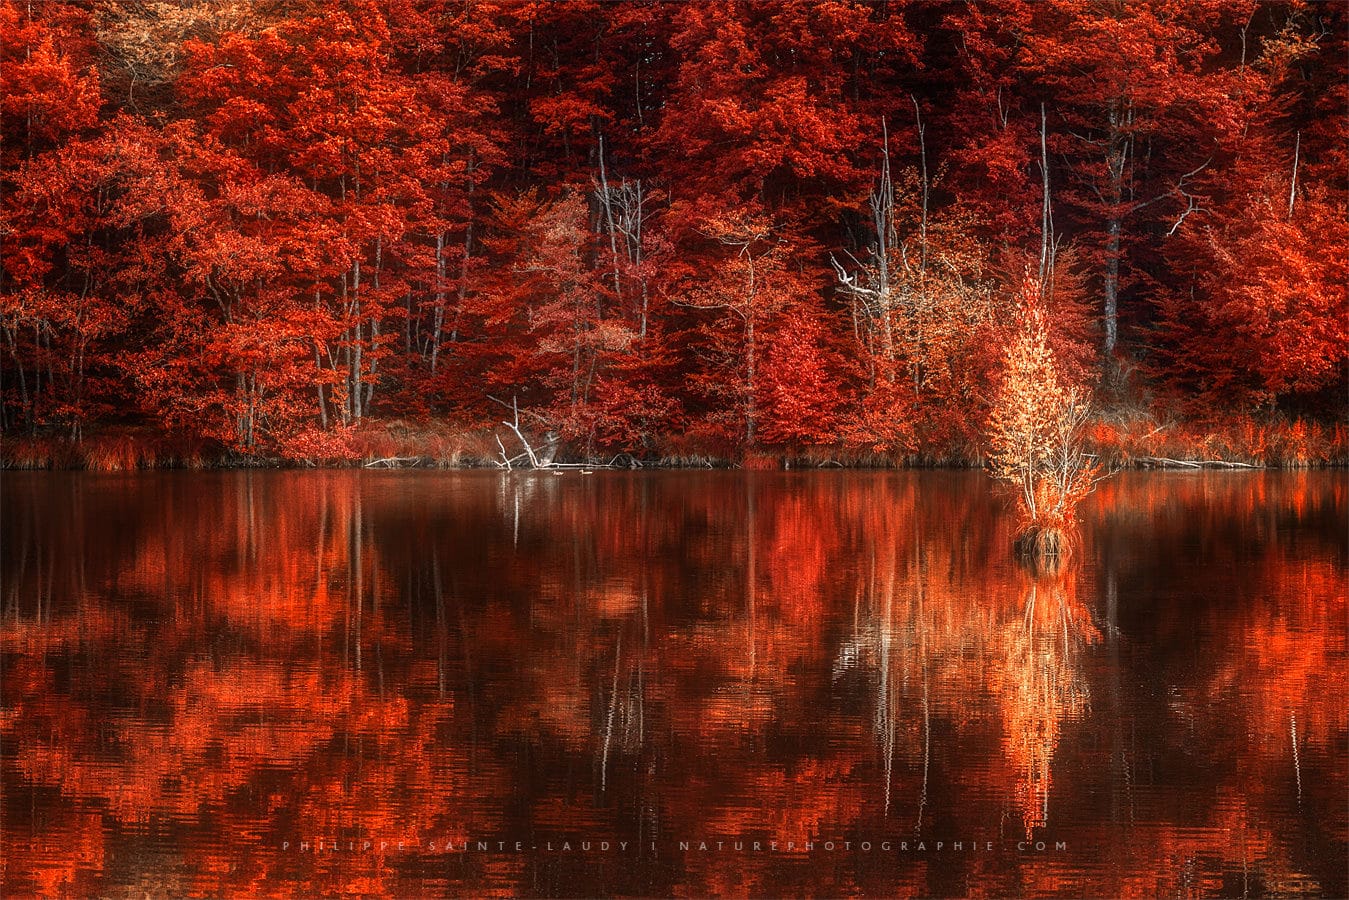
- Les couleurs de l’automne se reflètent dans un étang
-
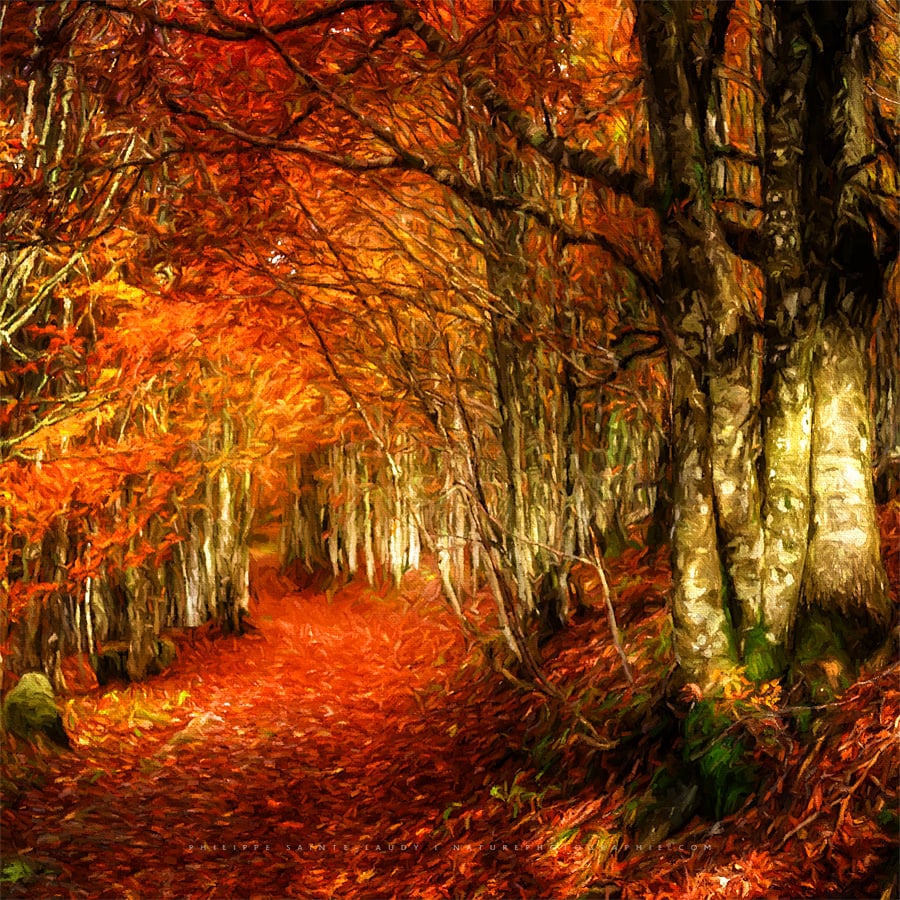
- Chemin rouge en forêt – paintography d’automne
-
- Le rouge fluo des feuilles d’érable en automne
Nouveautés

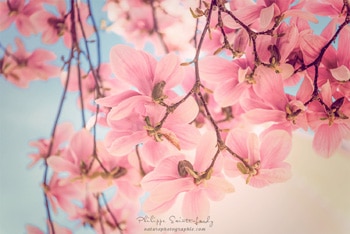
-

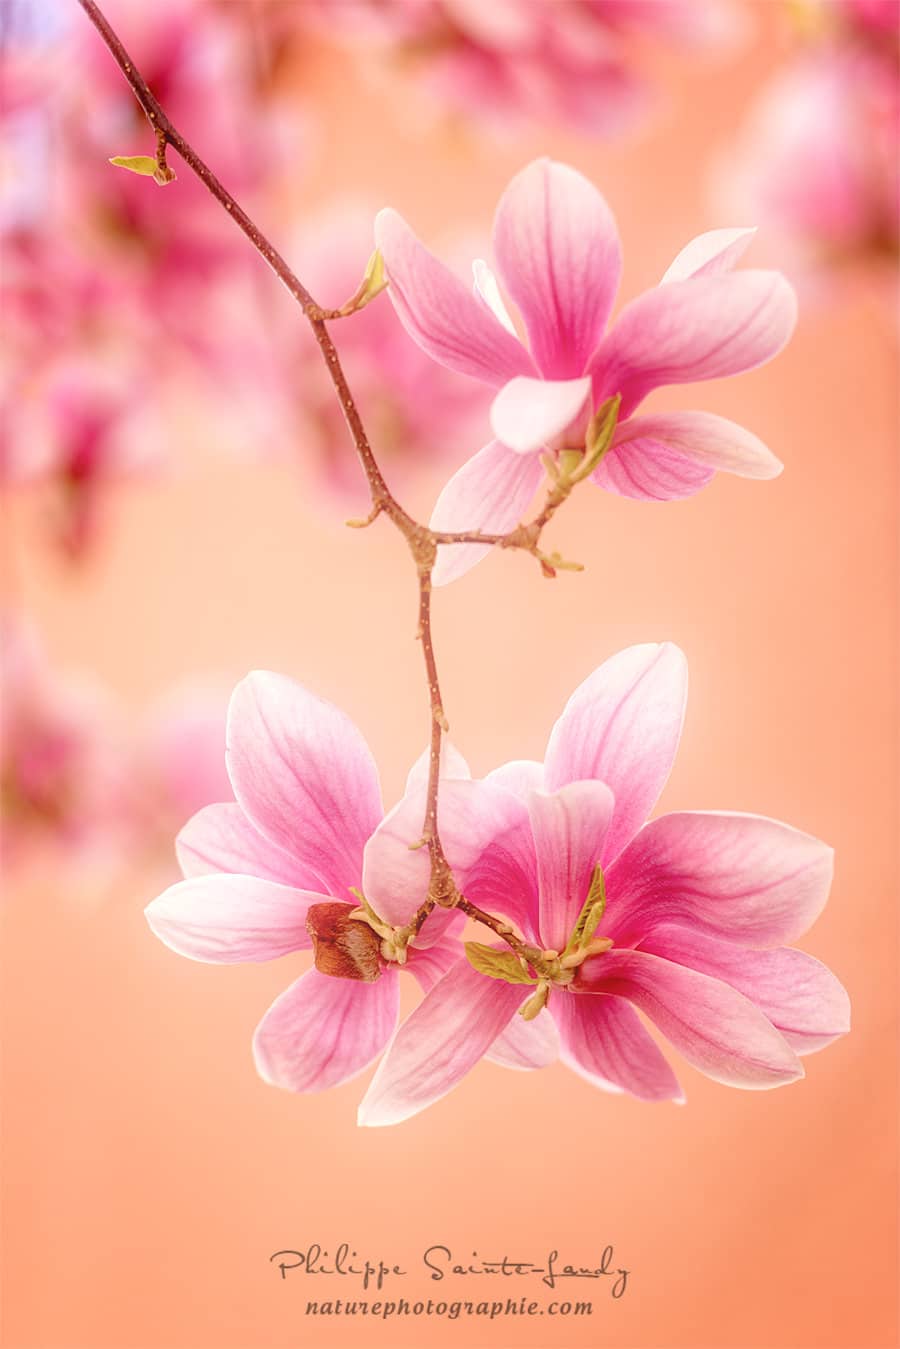
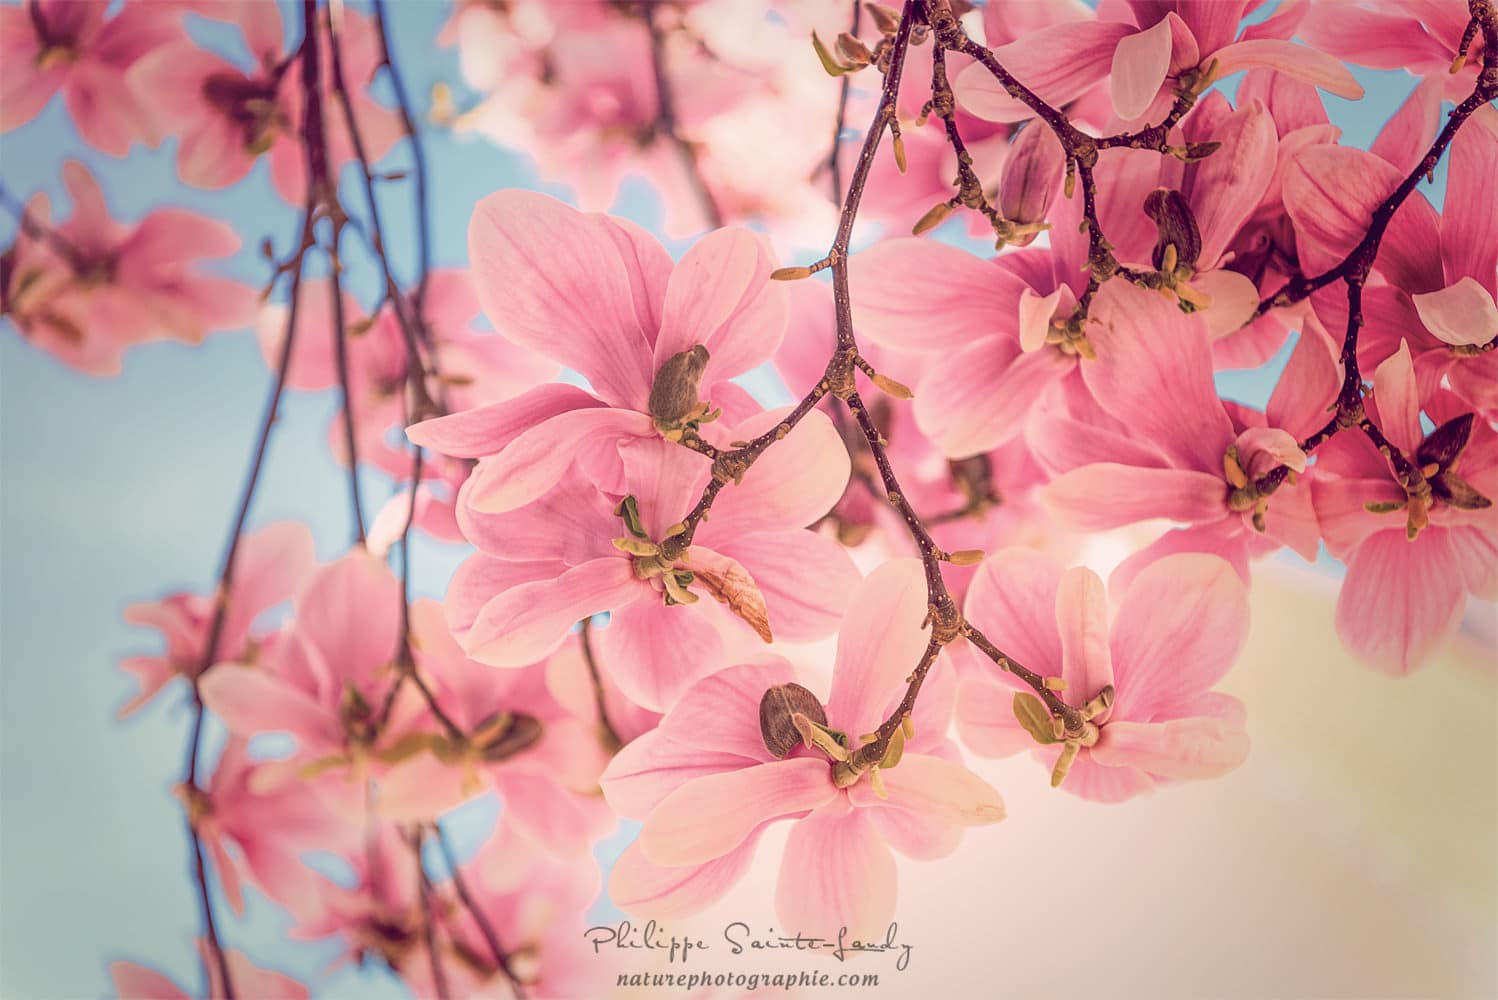
- Magnolias en gros plan
-
- Magnolia en fleurs
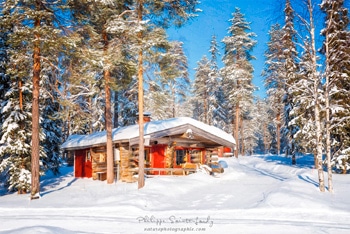
-
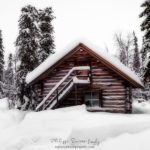
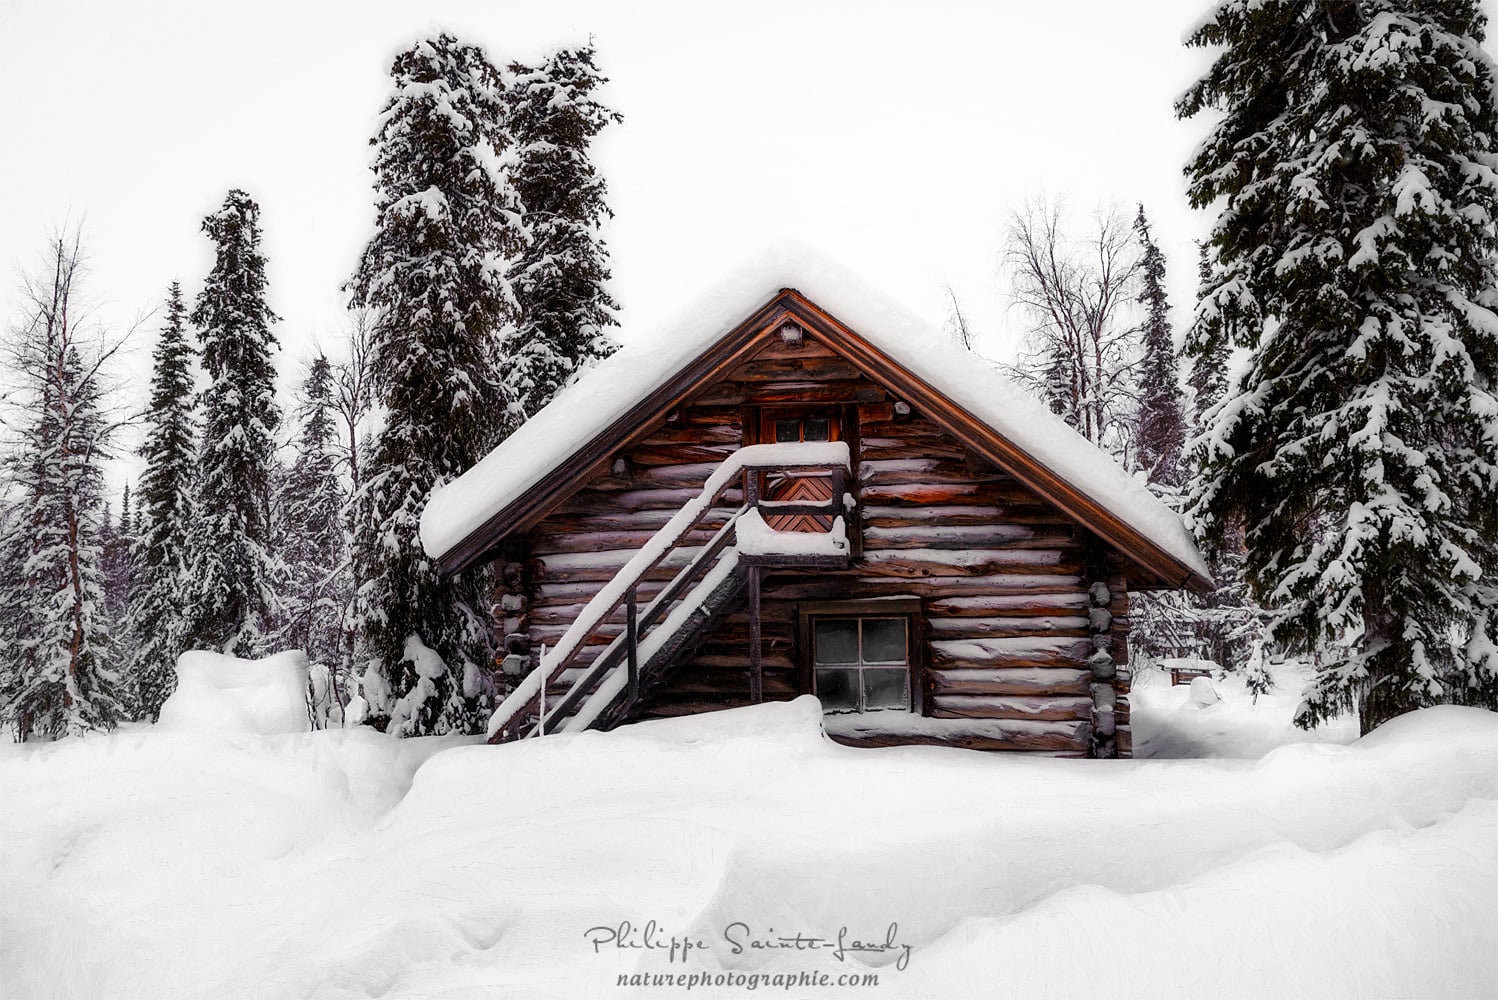
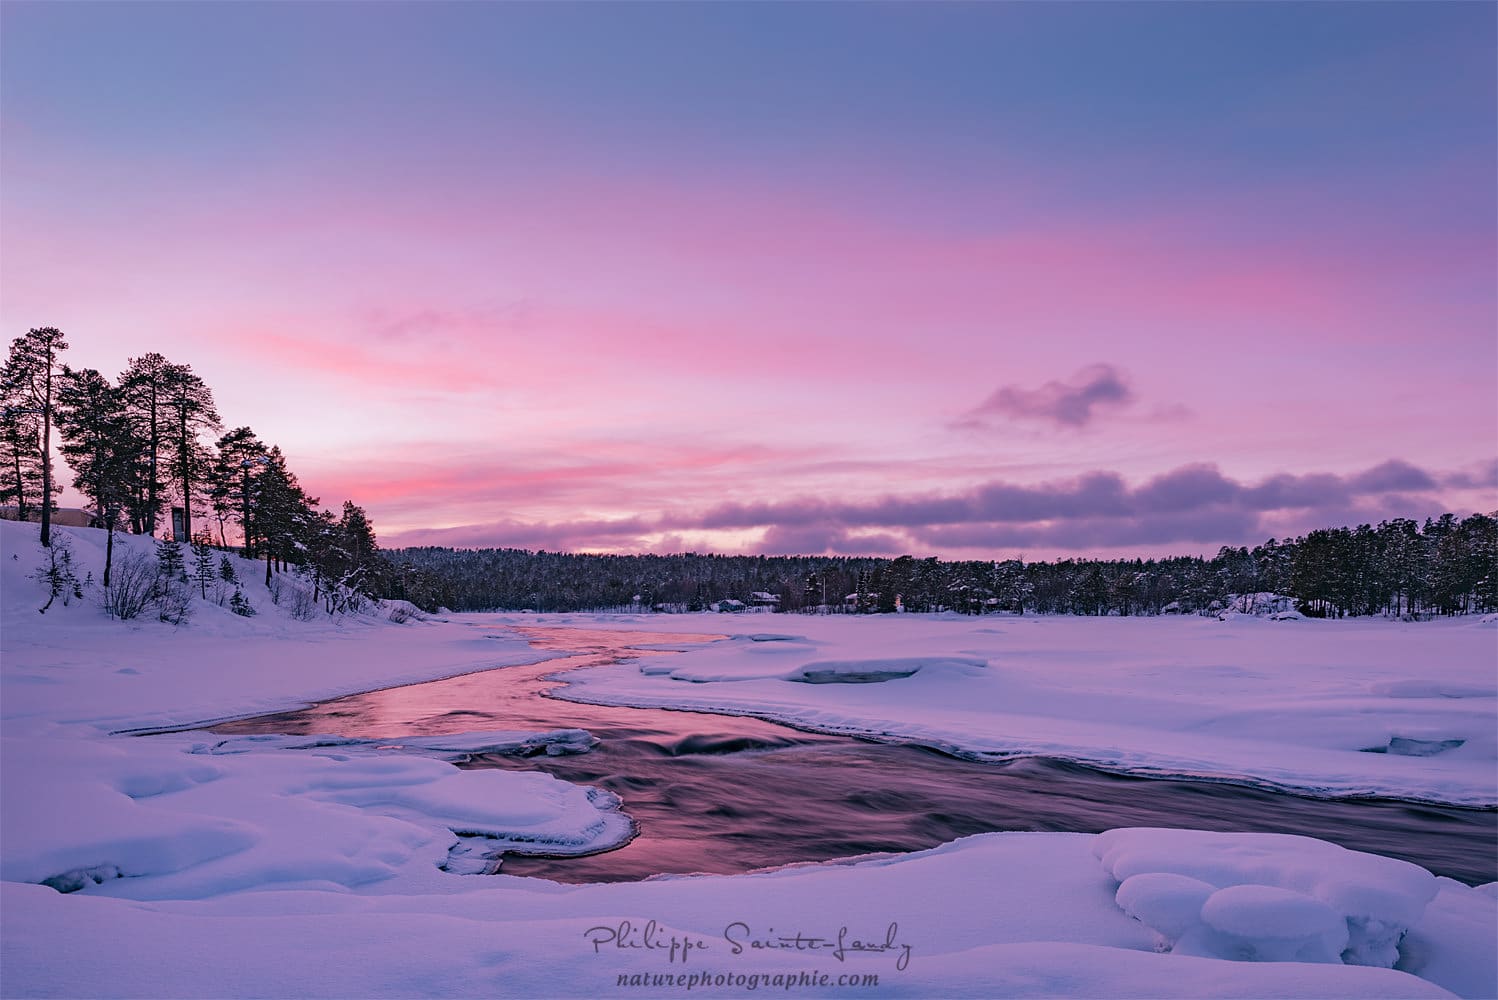
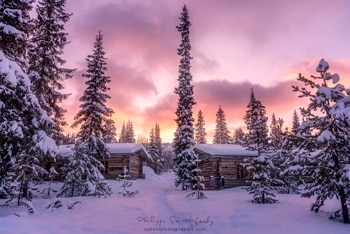
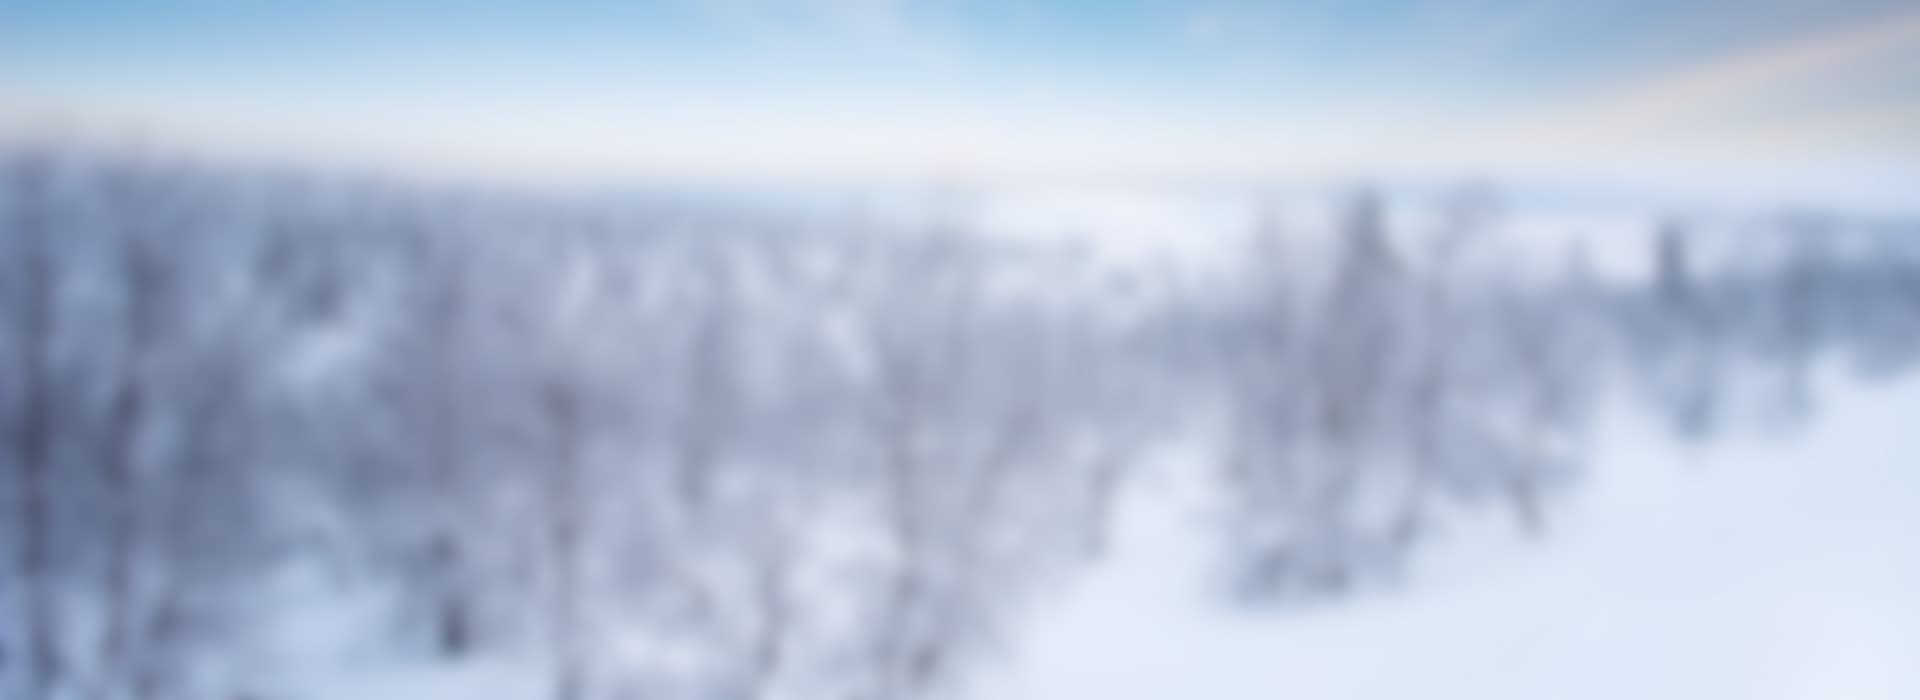
- Un chalet recouvert de neige en Laponie
-
- Il fait froid ce matin en Laponie
-
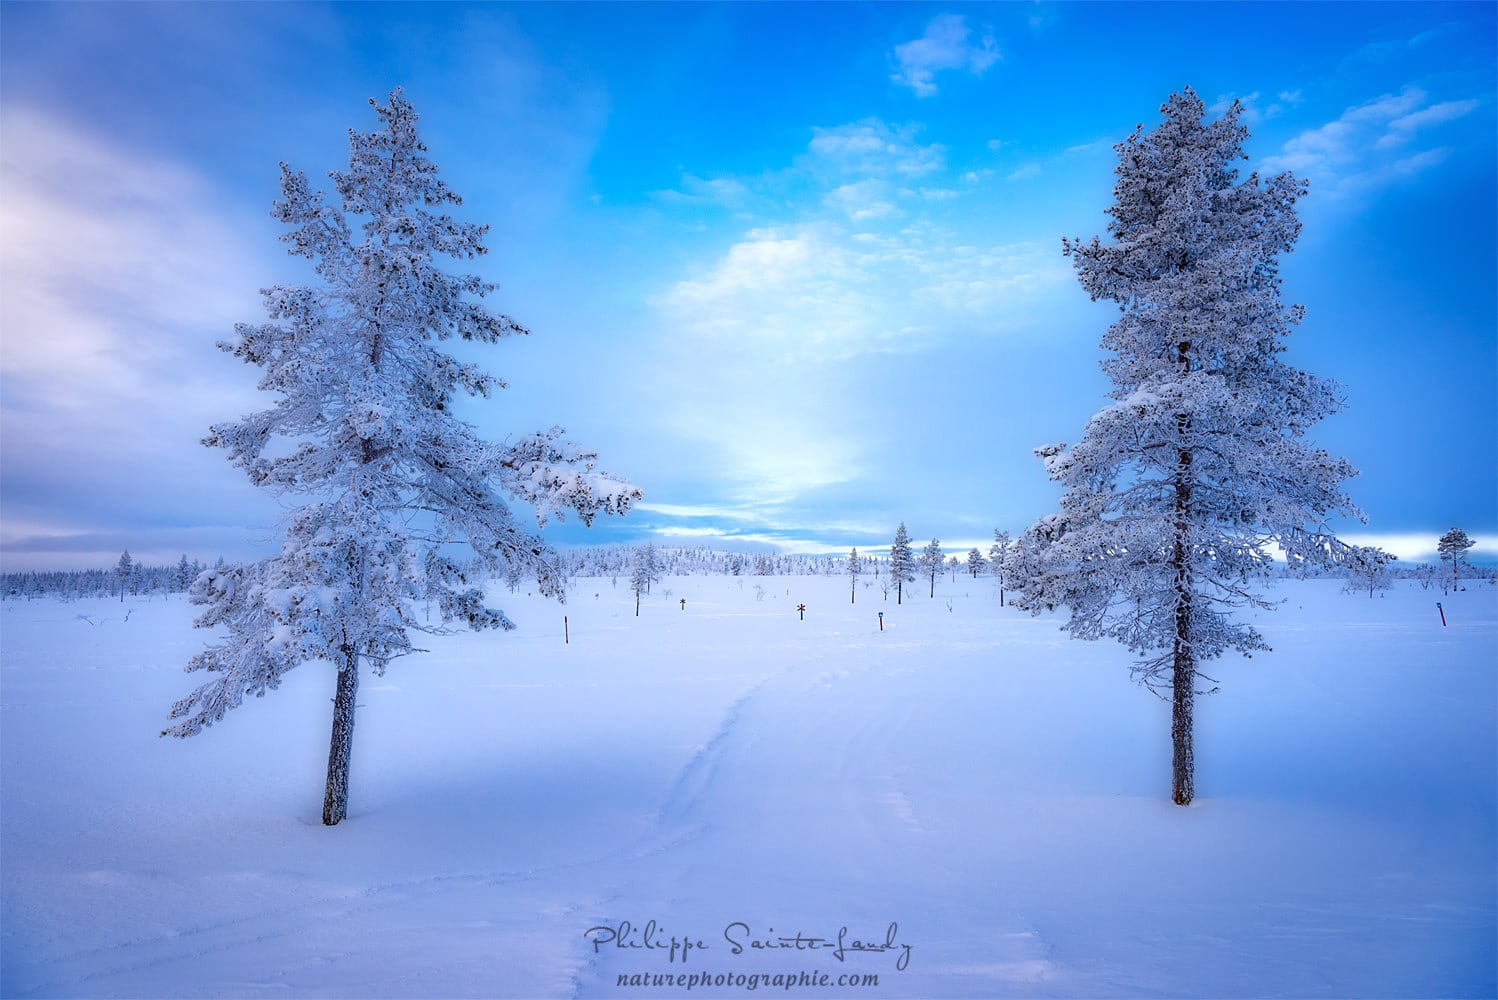
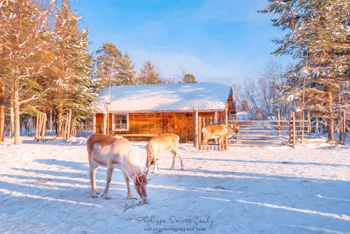
- Une belle journée en Laponie
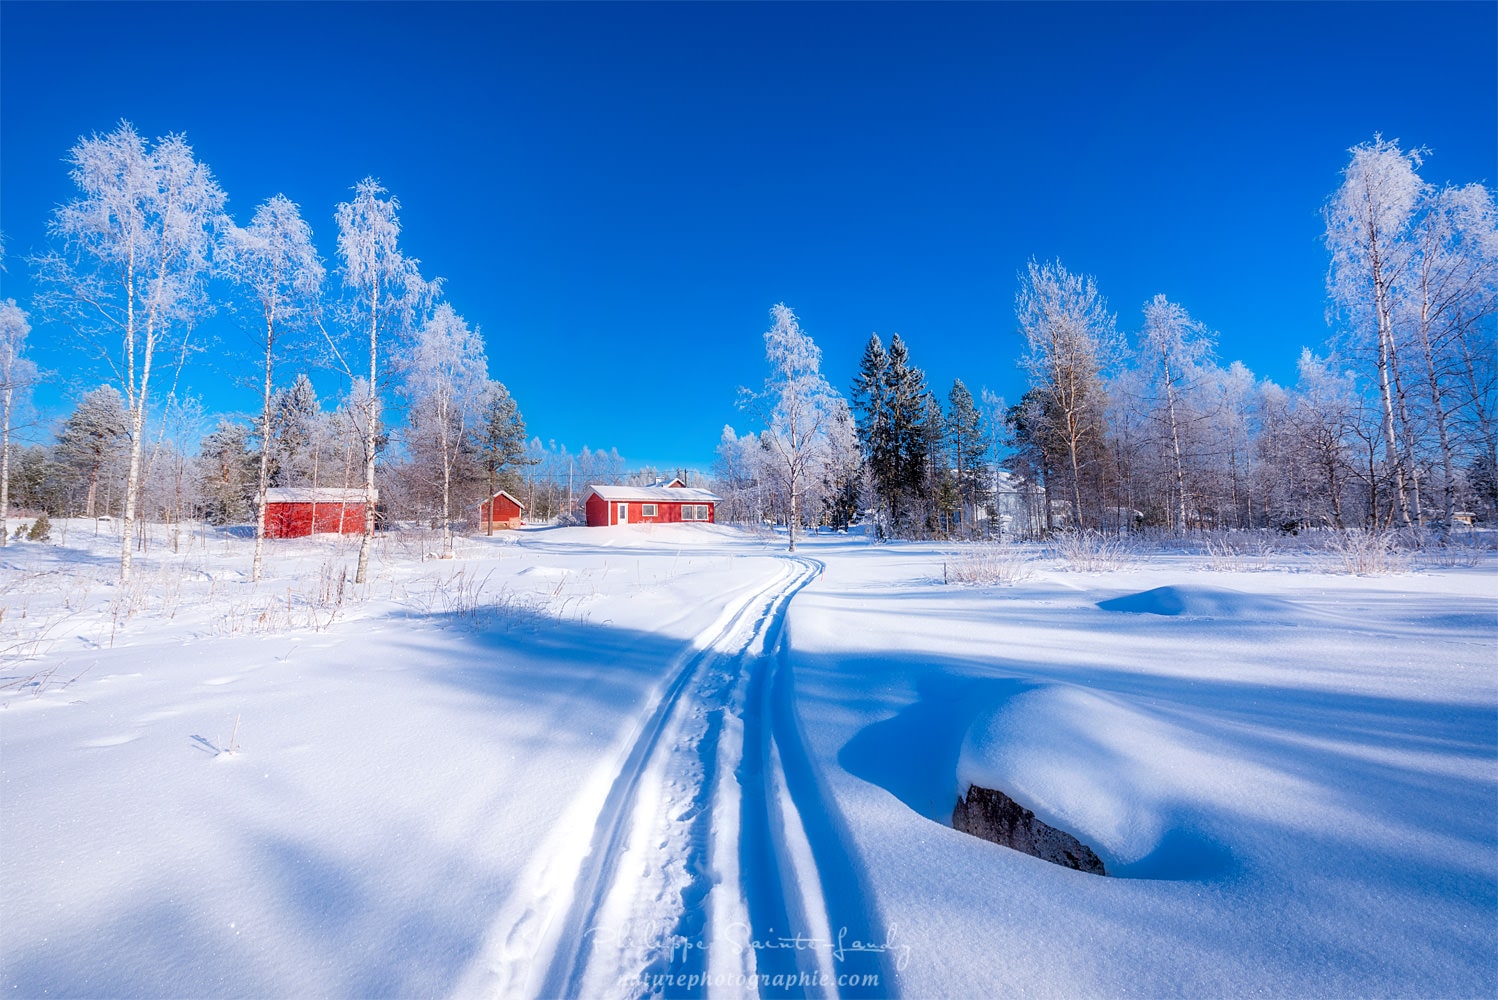
-
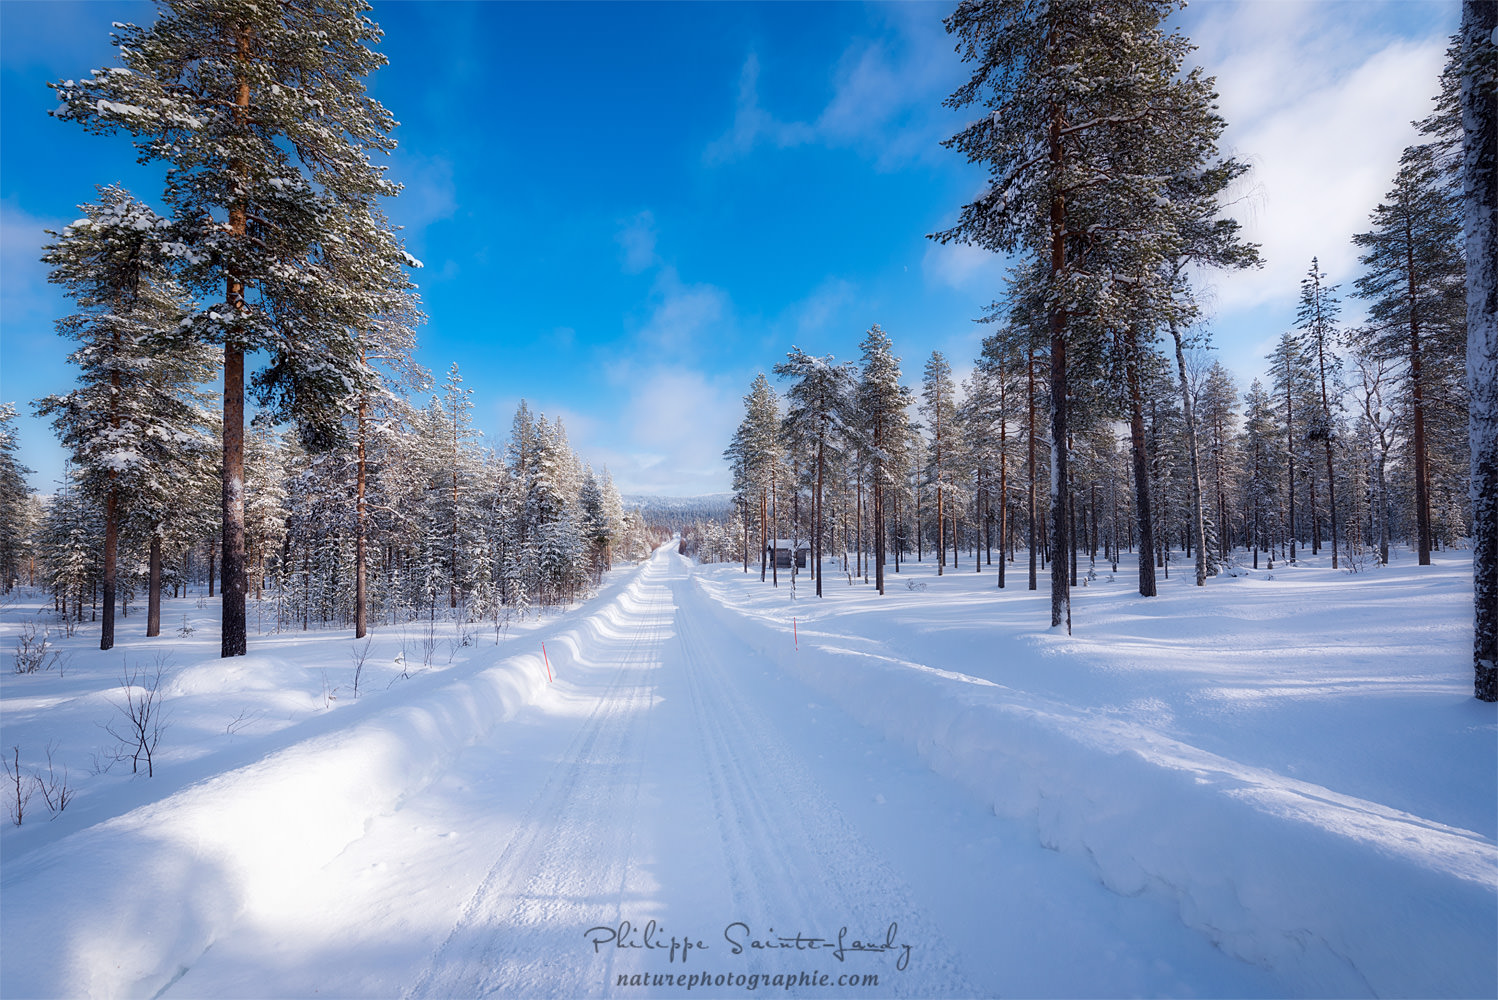
- Sur les routes blanches de Finlande
-
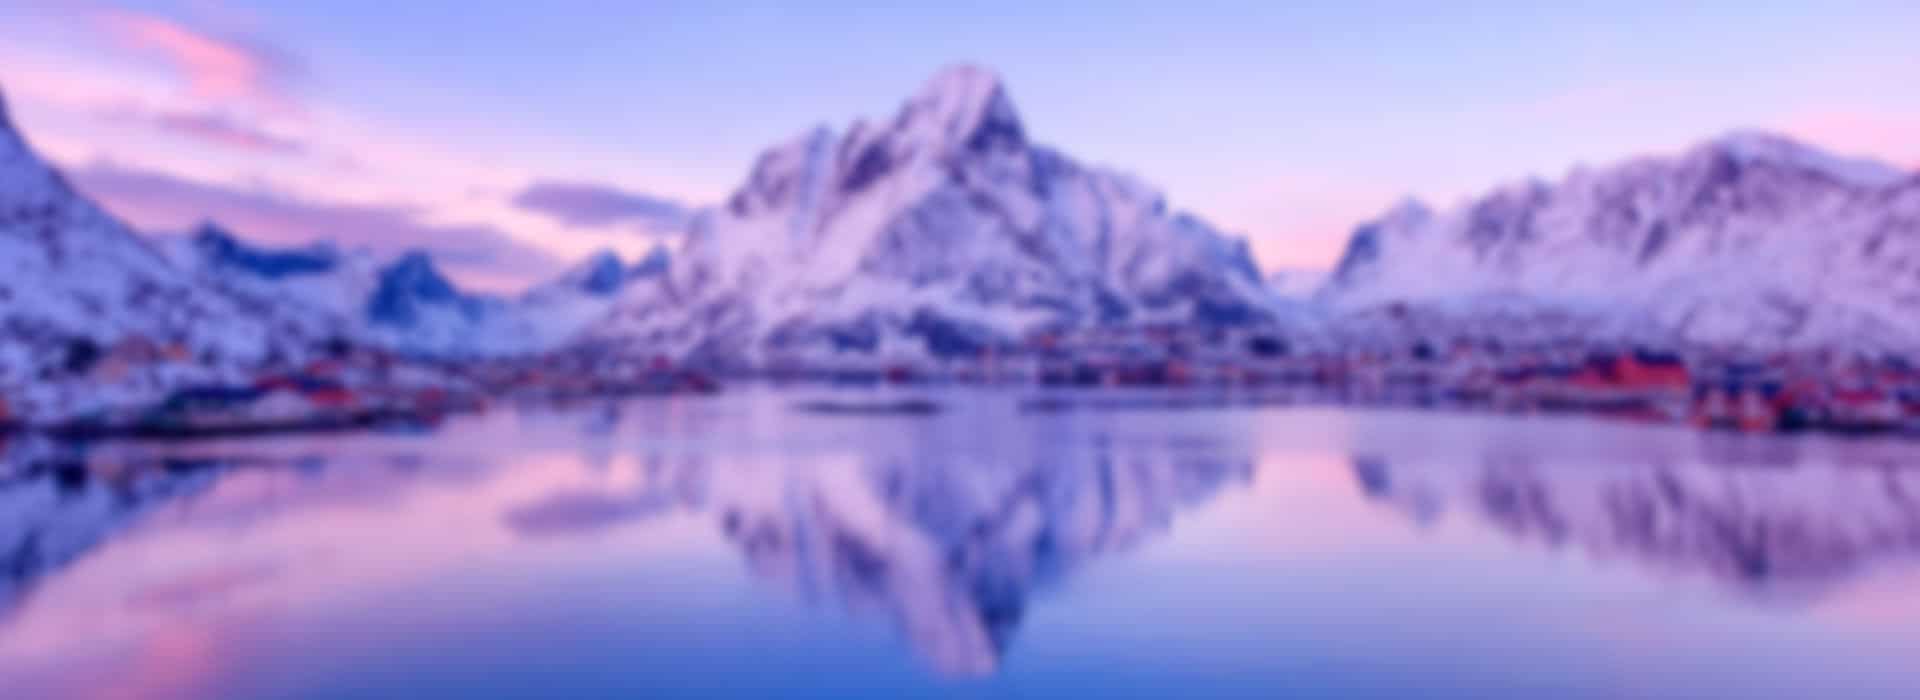
- Coucher de soleil à Inarie – Laponie finlandaise
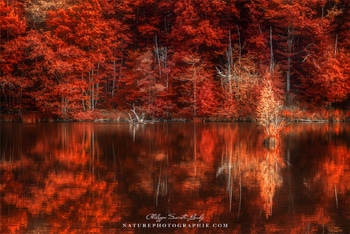
-
- Le Lac de la Maix en automne
-
- Feuilles d’érable rouge en automne
-

- Feuilles roses

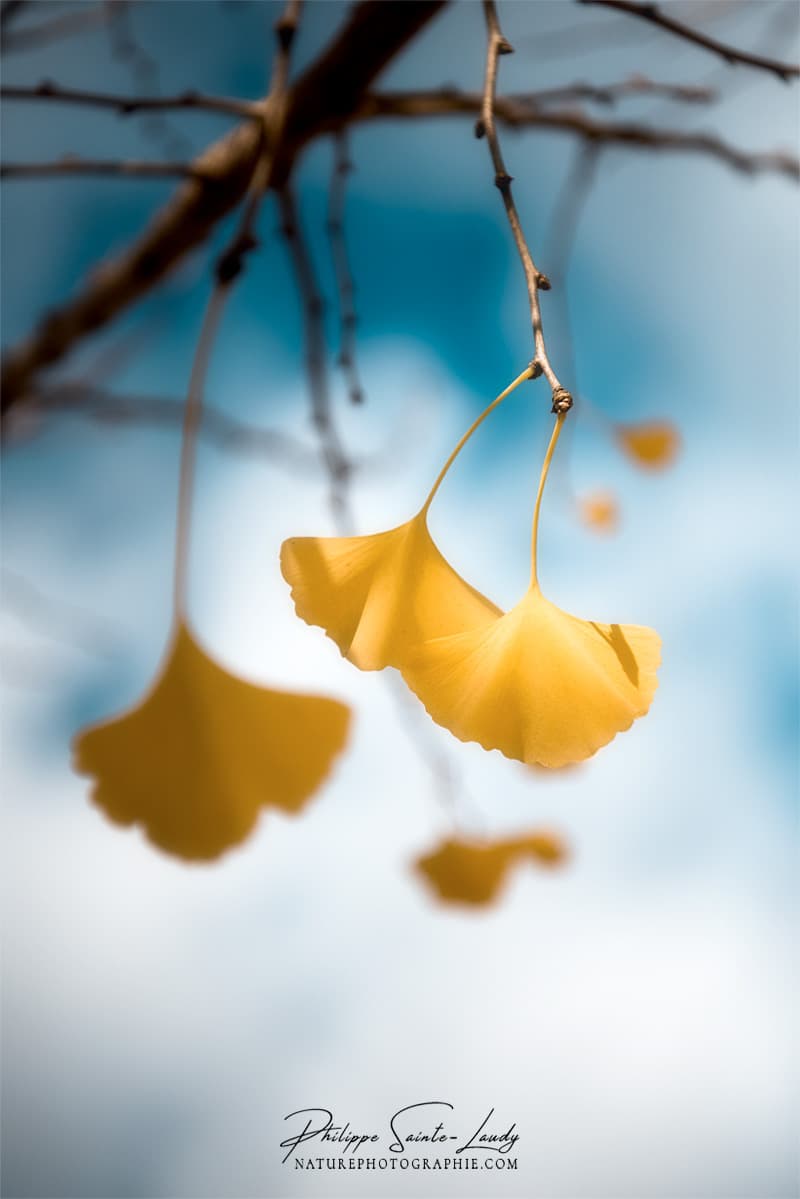
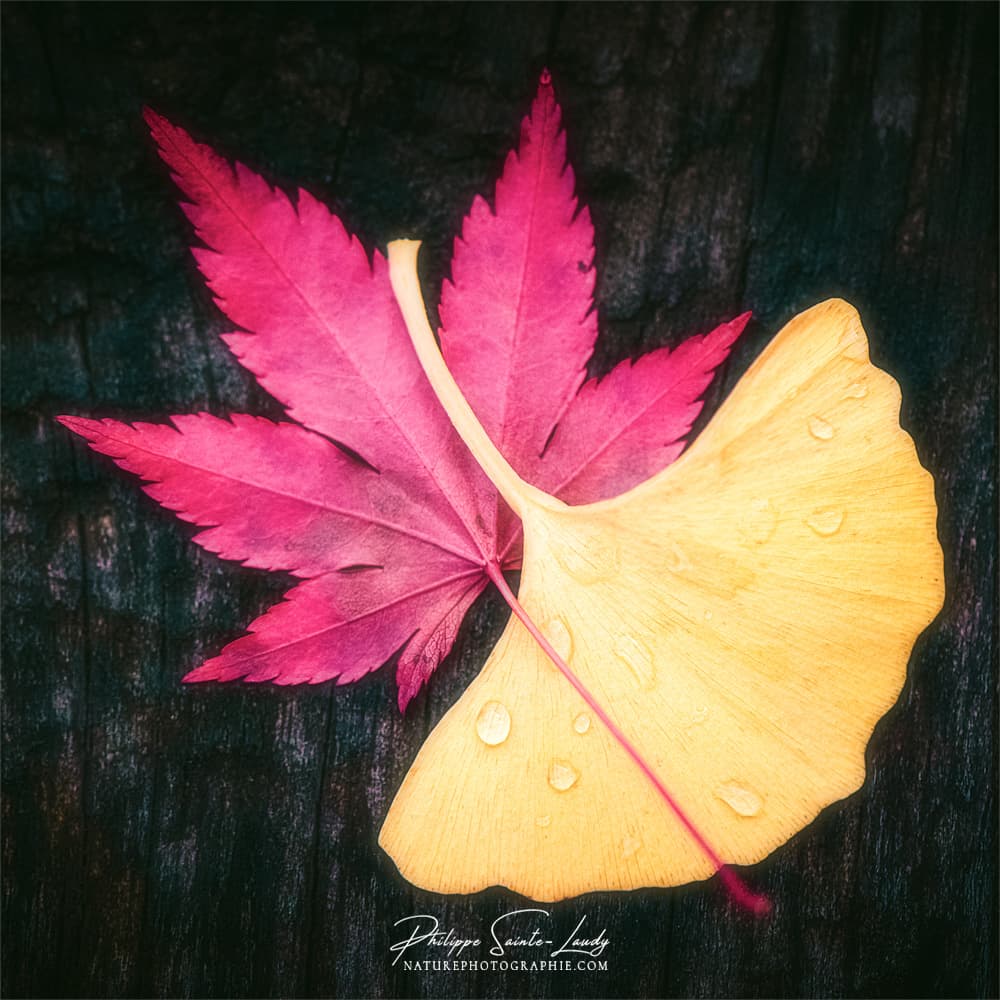
-
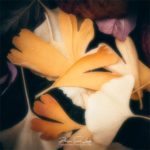
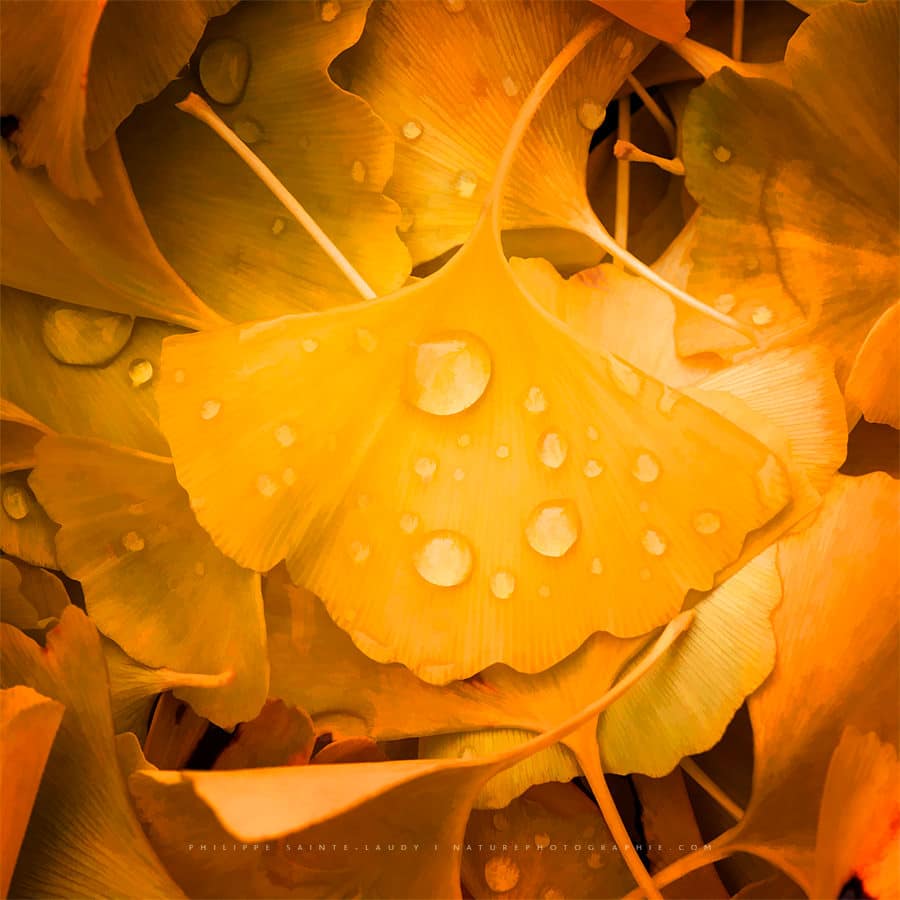
- Effet Orton sur des feuilles de ginkgo

-
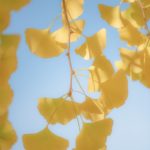
- Des feuilles très douces sur un ginkgo en automne
Parce que vous voulez en apprendre toujours plus :
- Comment dramatiser une image
- Le secret des textures
- Débuter en photographie
- Début d’automne et fichiers raw
- Cadrage et composition
- Lignes de fuite et perspective
- La désaturation sélective
- La paintography
À bientôt pour de nouvelles aventures !

GALERIES PHOTOS
TOP 50

Depuis 2008, une sélection impitoyable parmi plusieurs milliers de photos. Ici vous trouverez mon meilleur !
textures
Avec les textures, jamais les peintres et les photographes n'auront été si proches l'un de l'autre.
noir & blanc
Mais pas sans émotions. Chaque photo raconte une histoire, le moment est venu d'inventer la vôtre.
effet Norton
Hommage à michael orton. Une post-production très facile à réaliser et qui ajoute un vrai plus à nos photos.
Paintographie
Un effet créatif pour reproduire les coups de pinceaux et les ambiances de grands peintres célèbres.
Fleurs
Un simple regard posé sur une fleur et voilà une journée remplie de bonheur.
Printemps
Il commence le jour de l'équinoxe le 20 ou 21 mars et se termine le jour du solstice d'été le 21 juin.
L'été s'étale sur une période comprise entre le solstice du 20 ou 21 juin à l'équinoxe du 22 ou 23 septembre.
Il commence à l'équinoxe du 22 ou 23 septembre et se termine avec le solstice le 20 décembre.
Hiver
Il commence le 21 ou le 22 décembre, lors du solstice d'hiver, et finir le 20 mars, à l'équinoxe de printemps.
Bonsoir Philippe,
j’ai pu enfin faire l’acquisition de photoshop et la première chose que j’ai tenté est cet effet Orton que j’apprécie dans vos réalisation. Je peux dire que je suis super satisfait. Je l’ai testé sur une mes captures d’automne que j’avais laissé de côté parce qu’elle manquait de peps malgré une bonne composition. Le résultat est bluffant. J’ai utilisé « lumière tamisée » pour le coup.
Merci encore pour ce bon tutoriel qui a redonné vie à une de mes photos.
Bonsoir Pascal,
Excellente nouvelle !
Je suis sûr que plein d’autres photos attendent d’être mises en valeur, ça promet quelques heures sur l’ordi ;)
Merci d’avoir laissé ce commentaire sur le tuto, à bientôt et bonnes photos.
Bonjour Philippe,
Par l’intermédiaire de « La Chaine Photo » J’ai eu l’occasion de connaitre votre site et de pouvoir visionner ainsi entre autre, vos superbes clichées de paysage!
Par ce petit message, j’aimerais juste vous féliciter pour ce magnifique travail photographique et vous remercier pour votre générosité à prodiguer vos précieux conseils dans les tutoriels.
Parmi ceux-ci, j’ai particulièrement aimé celui-ci consacré à l’effet Orton. J’ai eu l’occasion d’appliquer la méthode décrite sur deux ou trois images publiées dernièrement sur mon site photo amateur et le résultat est assez convaincant.
Merci encore et au plaisir de vous suivre.
Max Zermatten
Bonjour Max,
Merci beaucoup d’avoir pris le temps de laisser ce message sur le blog, c’est toujours apprécié !
J’ai été voir vos photos et en particulier celles avec l’effet Orton, j’aime bien le rendu avec les montagnes. Bien joué ;)
Je vous souhaite une bonne continuation et à bientôt.
Bonjour Philippe ,
Magnifique Tuto , de quoi s’amuser à faire de beaux effets cet automne.
Merci , vous nous permettez de progresser à grand pas , avec vos tutos
si bien expliqués.
Bonne journée .
jean-Paul
Hello Jean-Paul,
Merci pour la visite et pour le(s) commentaires, je crois que je peux vous dire: à très bientôt ;)
Si je comprends bien je suis comme le Bourgeois Gentilhomme, je faisais du ORTON sans le savoir ;-)
Depuis j’ai amélioré le processus, Je rajoute un calque de renforcement des détails, mais le principe reste le même.
Et tout çà parce que je n’ai pas de bracketing sur mon APN…
Bonjour Gilles, merci pour la visites et les commentaires! Bien vu le calque de renforcement, comme quoi on peut toujours faire évoluer les choses ;)
À bientôt!
merci pour cette technique, très bien expliqué.
Bonne année!
Merci Denise, bonne année aussi ;)
Merci Philippe pour ces pages et pour celle-ci en particulier!
En effet, je voyais tes magnifiques photos sur G+ sans savoir que des explications toutes aussi magnifiques se cachaient dans ce site que je viens de découvrir. Merci pour tout! Les explications sont très pédagogiques et la modestie de l’artiste est impressionnante.
Je ne suis pas un as de PS. D’où ma question probablement stupide : Est-ce qu’on peut effectuer la première étape en dupliquant (Bouton droit + « Dupliquer le calque ») juste le calque initial qui contient l’image et en transformant ensuite la copie et les fusionner avec « multiplier »?
Toutes mes amitiés à l’Alsace dont nous arrivons à suivre la beauté automnale et hivernale grâce à thés photos (nous l’avons quittée en 2000).
Bien à toi,
Murat
Bonjour Murat, merci pour l’intérêt que tu portes à mon travail!
Si je comprends bien ta démarche tu as tout juste! Un autre chemin pour y arriver.
Je te souhaite de bonnes fêtes ;)
Bien amicalement
Bonjour Philippe,
permettez ou excusez cette « familiarité en vous appelant par votre prénom. Je tenais à vous remercier, une nouvelle fois,s de prendre le temps de répondre à nos messages et là, à l’occurrence, à celui de Christabelle (Ballet) concernant la copie de deux calques. Nous allons nous y atteler ce soir sur notre photoshop CS3. Je tenais surtout et à nouveau vous féliciter pour votre magnifique travail, aussi bien au niveau prise de vue, mais aussi explications et conseils de prises de vue et tutoriels. Je sais que vous n’êtes pas obligé mais j’admire à la fois vos photos mais aussi votre volonté de donner des conseils de prises de vue. J’ai, un peu à cause de vous ;-), investi dans un plein format chez canon, certes un peu dépassé et ancien, mais réalisant toujours de belles photos, le 5D et j’espère un jour, atteindre, votre « orteil ».
Alors je réitère tous mes remerciements, pour le partage de votre savoir. Dommage que vous soyez si loin de nous (Nous vivons en Dordogne) mais sachez que si un jour vous souhaitez venir, notre porte sera grande ouverte, et ayant habité quelques années dans le nord de la Franche Conté et m’exilant souvent dans les Vosges, j’espère y emmener Christabelle et espère ainsi vous croiser et surtout vous rencontrer.
Bonjour Laurent,
très touché par votre message! Merci infiniment ;)
Je vous dis à bientôt.
bonjour,
un effet intéressant pour les paysages d’automne!
par contre,une fois les 2 images ouvertes, je bloque sur l’étape « coller l’image floue sur l’originale »
pouvez-vous m’expliquer comment faire ?
merci d’avance
cordialement
Bonjour,
Il faut sélectionner l’image floue, faire un copier (contrôle C) on peut fermer cette image sans enregistrer et ensuite la coller (contrôle V) sur l’autre image. On se retrouve donc avec 2 images l’une sur l’autre et on continue le tuto ;)
Dites-moi si c’est plus clair comme ça!
Bonjour Philippe,
nous avons élucidé le mystère…En fait, nos calques étaient verrouillés, d’où l’impossibilité de réaliser un copier collé. Nous nous servons désormais des racourcis control+A, control+C et control+V, et ainsi, nous avons pu réalisé notre premier Orton. Mille merci de vos précieux conseils.
Encore fallait-il y penser! Bravo et merci de partager ici la solution ;)
Magnifique !
Est ce que ça marche avec Photoshop ?
Merci de votre réponse .
Affirmatif ;)
Merci pour tous ces supers tutos et conseils. Vos photos sont absolument magnifiques!
Un régal de feuilleter votre site. De ¨Percé en Gaspésie. Encore merci
Merci pour la visite depuis la Gaspésie, une destination qui me tente beaucoup!
Tellement beau, et cela me permet de récupérer des photo donc l’éclairage n’était pas satisfaisant. J’en veux encore d’autres tuto comme cela.
Tu as le bonjour de Rimouski. :):):)
Merci pour la visite Julien, et bonjour à Rimouski (ville du Québec, j’ai dû chercher ;)
Magique cet effet :)
Thanks for the great tutorial! I can’t wait to experiment!
I can’t wait the result!!! Thanks for passing Pat, good to see you around :)
Merci pour le tuto, simple et efficace.
Merci pour cette technique que je vais tenter d’appliquer pour enjoliver mes étés indien !
Bonne fêtes !
Magikphil
Tu me tiendras au courant, bonnes fêtes à toi aussi ;-)